
We're smoking a big pork shoulder in an entirely regular charcoal kettle grill. Oh yes we are. It's going to take a long time and no small amount of fussing and at the end you're going to have a volume of smoky pulled pork larger than all the places it could fit in your entire body. This is The Way.
There's no good reason at all to undertake this frankly huge and time-consuming mission other than that finding good, smoky, juicy pulled pork is an even bigger inconvenience, across whole big swathes of the world, if you cannot cook it for yourself. So cook it for yourself! Then you'll know how to cook it, and you'll never be dependent upon friggin' Zed's BBQ Roadhouse or whatever for your smoky pulled pork needs ever again. Let's cook it. It's summer, it's barbecue season, and there is no better time to dump an entire day on sticking close by to a hot grill and use that as an excuse to abdicate all other responsibilities. Let's do this. We're doing this. Do it.
You're gonna need some stuff. You're gonna need a lotta friggin' stuff!
Let's start with the inedible stuff. You're going to need some charcoal. Ordinarily I am a hardwood lump charcoal preferrer: It burns hotter, it smells better, it crackles enjoyably, it leaves less ash behind, it's just sort of better all around. But in this case, briquets are the way to go. That's because you're going to assemble your charcoal into a Charcoal Snake, for steady, low, sustained heat, and briquets' regular size and shape, and comparably lower burning temperature, make them better for this.
But what, oh what, is a freaking Charcoal Snake? This is a freaking Charcoal Snake:
That's two concentric rows of charcoal briquets, with another two rows on top of them, around the edge of the charcoal grate in my kettle grill. The idea is, you dump a dozen hot coals on one end of this snake (the one to the right in the above image, in my case), slap a lid on the grill, set the top vents to hold the temperature where you want it, and over the next long while the fire gradually burns from one end of the snake to the other. Since any given cross-section of the snake has just as much charcoal as any other, arranged in broadly the same way, the temperature will never have any reason to spike or dip by more than a few degrees. It's a very stable and cool way to cook something for a very long time with indirect heat inside a charcoal grill.
You may not need two concentric rows, with two more rows on top of them. My grill is extra large, and it takes a bit of charcoal to sustain a moderate cooking temperature in all that empty space. Through much trial and error I have learned that with the setup in that photo, I can comfortably sustain a temperature just shy of 250 degrees under a closed lid with the top and bottom vents fully open for close to nine hours. That's longer than I need, but also I never have to worry about whether it'll last long enough. What I recommend is that you do this, and then fiddle with the top vents on your grill to see if you can hold a temperature somewhere between 220 and 250 degrees.
The snake can be a bit of a pain in the ass to assemble if, like mine, your charcoal grate has been warped by many years of rough use. Be patient. It'll be fine.
You will also need some wood. If you can find them, half a dozen nice tennis-ball-sized lumps of apple wood are great for this; if you have them, just place them on top of the snake, evenly spaced, along its entire length. Short of that, a cheap-o bag of shredded apple wood chips of the sort you can get at a modestly fancy grocery store will do nicely; if you have these, and they're small, then you might consider soaking them in cool water for an hour, then draining them before you strew them over the snake, so that they don't burst into flames but rather smolder and smoke. (Some people insist this isn't ever necessary! You can listen to them if you like; they're probably at least as credible as I am. In my experience, I have had smaller dry chips just straight up combust and burn away within minutes, and it sucked, so when I have small chips to work with, I soak them in water first.)
It's fine if you can't get apple wood; there's likely to be some complaints or accusations of clownfraudulence down in the comments over this, but hickory and mesquite are each fine, and the likelihood is that if you know of some other type of wood you like to use for smoking, it's fine, so long as you are not talking about a pile of number-two pencils. The thing is, you need some wood.
You will need a digital food thermometer. If this is a meat probe with a long insulated wire leading to a little digital console and an alarm you can set to go off at a target temperature, that is ideal. This is great to have; it will make meat loaf and rib roast and Thanksgiving turkey much easier and less stressful for the whole rest of your life, to say nothing of giant nine-pound pork shoulders. However, if what you have, or what you can get, is an instant-read digital guy that you pop into the meat for a few seconds to find out how hot it is in there, that's fine. You'll have to fuss over your pork shoulder a little more, but not much. In any event, the word "need" was not a mistake up there. You need a digital food thermometer for this.
You'll also need some means of knowing, with reasonable accuracy, how hot the inside of your charcoal grill is, with the lid on. Ideally there's a thermometer built into the lid of that sucker; that's fairly normal nowadays. These are not super reliable! For one thing, it only measures the heat where it is, and it's likely quite a bit higher than the food inside the grill. For another thing, it can only tell you how hot the inside of the grill is on whichever side of it it's on; if you're using indirect heat, as we are today, with the charcoal all over on one side of the grill, the thermometer inside the lid can't really give you all that comprehensive an idea of what's going on in there pretty much no matter where you position it. On the other hand, that's all I used for judging the temperature inside the grill when I cooked absolutely flawless pulled smoked pork a week ago, so it's good enough, and certainly better than nothing.
If there's nothing like that on your grill, that's fine. Your local home-goods or hardware store likely retails a variety of grill thermometers; I recommend getting one. Some of the fancier ones can even pull double-duty, telling you the temperature inside the grill with one sensor and also having a probe you can put inside the meat to know how hot its internal temperature is. Shy of that, you can also try not really caring all that much about exactly how hot it is in there. I don't recommend this! On the other hand, I am not eating anything you're cooking, so I also do not really give a damn.
OK. What else. You will need something that can be deployed as a drip tray without melting. The best thing for this is one of those disposable foil casserole trays you can usually find in the baking aisle at your local supermarket. Later, right before you put your pork shoulder on the cooking grate and slap a lid on the whole thing, you're going to put this tray on the charcoal grate, right under where the pork shoulder is going to sit, and you're going to fill it with a teakettle worth of hot water. The water will slowly turn to steam as the pork cooks, keeping the air inside the kettle humid, preventing (or limiting) evaporative cooling in the meat, and helping to moderate the temperature in there; at the same time, the tray will also collect any drippings from the pork, which is just a good practice for preventing the inside of your grill from getting gross over time.
You will need aluminum foil. Quite a bit of it! You will need a clean and empty spray bottle. I think that's it for the non-food stuff. If I remember anything else between now and when I finish writing this blog, I will let you know.
Now for the food stuff. Clearly you will need a pork shoulder. A nice, big eight- or nine-pound shoulder of the Boston Butt variety (with a big blade-shaped bone in one side and a thick cap of fat on top) will make an absolutely hysterical amount of pulled pork. It will also take a very long time to cook. Naturally, because I am the same guy who once wrote instructions for making what, if you followed them faithfully, would turn out something like 12 pounds of macaroni and cheese, this is what I recommend. Do not trim the fat off of the top of this guy. Score the fat in a shallow crosshatch pattern with a sharp knife if you like, or don't. It's none of my business!
You will need some dry spices. Perhaps you have your very own preferred spice rub for barbecue. Maybe yours has a lot of wild-ass shit in it! Maybe your custom spice rub sneers down its nose at the feeble spice rubs of mere normie scrubs like me. In that case, Godspeed to you. If you do not have your very own preferred spice rub for barbecue, you cannot go wrong with some big pinches of ground cumin, a big pinch of two each of black pepper and hot red pepper and garlic powder, a lil' paprika for aroma, a couple tablespoons of salt, and maybe a little bit more than a couple tablespoons of brown or white sugar. A day before you are going to cook your pork, mix your dry spices in a bowl and rub the mixture all over the outside of your pork shoulder. Then it's fine to cover the pork with some plastic wrap so as to prevent it from spreading porky grossness to the rest of the inside of your refrigerator, and sock it in the fridge.
You will also need some apple juice and some apple cider vinegar and some water. Mix equal quantities of these in your clean and empty spray bottle.
Hm. Was that all of the food stuff? I think it was. Let's just see. Let's get cooking.
OK. So, you've got your pork, which has been sitting in its spice-rub cladding for a whole day. And you've got your grill with its Charcoal Snake in it, and with the wood scattered across the top of the snake. And you have your drip tray, and your teakettle of hot water, and your spray bottle with apple juice and apple cider vinegar and water in it. It's now, ideally, very early in the morning, or else you are planning on eating this pork tomorrow. What you need to do is pull the pork shoulder out of the fridge and set it on the counter, and also light one end of the charcoal snake thing. Let's talk about how to do that latter part.
If you have a chimney charcoal starter, that's the easiest way to do this. Dump, say, 15 charcoal briquets in that sucker, light some newspaper or a torn-off strip of the charcoal bag underneath, and in 10 or 15 minutes you should have a happy, glowing little pile of hot coals. Pour these out at one end of the snake, and with a pair of heat-resistant tongs, move them around so that they're piled up around and overlapping that end of the snake. Overlapping is important, to ensure that the hot coals don't just burn themselves out before they've ignited that end of the snake.
If you do not have a chimney starter, and are used to using lighter-fluid to start your charcoal, that's fine. Move the drip tray out of the way, make a little compact heap of 15 charcoal briquets in the empty space there (not touching the snake!), hose it down with lighter fluid, light it, and within 15 or 20 minutes you should have a happy, glowing little pile of hot coals. At which point you can pull out your trusty heat-resistant tongs and do the stuff from the above paragraph.
What not to do is to try to just directly light one end of the snake by hosing it down with lighter fluid and taking a match to it. You'll burn too much of the charcoal all at once this way. Don't do it. I mean that's not the only thing not to do. You should also not smoke cigarettes or pound nails into your hand with a hammer. Probably you should also not do lots of other stuff, too. I'm not gonna list all of it here. I won't damn do it.
In any event, at some point you will have your lit charcoal, and you will have heaped it around and over one end of your charcoal snake. Now, working rather quickly, fill the drip tray with hot water, and stick a lid on the grill with the top and bottom vents fully open and the hood thermometer (if you have one) opposite the charcoal, and walk away for 10 minutes. But wait, you are saying. There's no dang pork in there. That's right. What you're doing now is waiting 10 minutes, to see what temperature your grill settles at with these settings. In a perfect world, when you come back the grill will have settled in somewhere between 220 and 250 degrees. If it's hotter than that, partially close the top vents and wait another 10 minutes; fiddle around at 10-minute intervals until it looks like you've got the temperature where you want it and/or have decided to abandon this venture and simply hunt me to the ends of the earth for vengeance instead. When you've got the temperature in that 220-to-250 range, it will be time to cook pork in there.
Haul your pork shoulder out to the grill. Unless your grill is incredibly large, like five yards across (it isn't), you'll notice that one side of your pork will be much, much closer to the half-ring of charcoal briquets than the other. This side is at risk of being exposed to much higher heat, and drying out while the other side gets a gentle smoking. What I recommend is that you fold some aluminum foil into some L-shaped little shield guys, and place them like so:
These feeble suckers are not going to make the biggest difference in the world. But they will give the pork just enough protection from direct heat on those sides, and it will matter. I promise it will! Don't learn this the shitty way, by not doing it.
Now, put the dang pork on the cooking grate, fat side up, over the drip tray with the water in it. You may read instructions out there that will recommend putting the fat side down, the reasoning being that the layer of fat on the bottom will act as a barrier through which the pork's juices cannot flow, trapping them inside the pork, resulting in juicier pork. Possibly this is true! I don't know. I only know that I cook it fat side up, and it comes out insanely juicy and delicious; I guess I have the idea that the fat renders down into the pork as it cooks, basting it in delicious pork grease. That certainly is what seems to happen. Anyway that's my recommendation.
If you have a probe thermometer, stick it deep into the center of the pork, entering horizontally into the side of the pork so that the whole length of the probe runs parallel to the surface of the grill. Prop the little probe console guy somewhere safe outside of the grill; personally, I have a little spare brick sitting on the floor of the deck in a shaded spot near the grill that I use as the probe console's little base. Set the probe's target temperature to 165 degrees (this is a good 40 degrees below where the pork will end up; we'll get to the reason for this in a minute). Pop the lid back on the grill. Set a timer for 10 minutes. That's so that you can make sure, after those 10 minutes, that nothing has changed in terms of what temperature your grill holds on the inside, now that the fire presumably has worked its way a little farther along the snake and, oh right, there's a giant wad of cool pork in there. If you need to adjust the top vents after those 10 minutes, uh ... do it.
So now the thing is, if the temperature is settled between 220 and 250 degrees, you're going to leave the lid on the grill and smoke the pork with as little interruption as you can manage for three consecutive hours. I'm sorry to report that this does not mean you can just go off and ignore the grill for three hours. You cannot! In fact, I recommend that you check it every half-hour during that time, just in case. There's no particular reason why the temperature should change more than a handful of degrees during that time, but if it did for some unforeseen reason rocket up to like 350 or plunge down to 170, you would not want an hour to go by without your having known about it.
In all likelihood, if your grill was holding its temperature somewhere between 220 and 250 degrees after 10 minutes with the pork in there, and you did not weirdly decide to make your charcoal snake three inches long, then the temperature is going to hang out in that range for the entire three hours. Great! The pork's done now, right? Ha ha ha ha ha ha, no, it is not even within distant screaming range of done. It is not even half done. It may not even be a quarter done. I'm sorry! I'm terribly sorry.
So then, you are wondering, jaw clenched so tightly that your teeth are beginning to make alarming cracking noises, what was the whole deal with three hours? The whole deal with the three hours is, now you are going to lift the lid just enough to aim your spray bottle in there, and you are going to spritz that big lump of pork all over with your apple juice, cider, and water mixture. Go ahead and give it, like, two dozen sprays. This is also a good time, if you're not using a probe thermometer, to jam that instant-read guy in there and find out how hot your pork is. (The answer: Not very. Once again, I'm truly sorry.) Then put the lid back on. The spray will keep the pork's outer layer moist, and aid its flavor, and is good, and you're going to repeat that step once an hour for however long it takes for the pork's internal temperature to hit 165 degrees, or for the charcoal snake to burn out, whichever happens first. (In all likelihood, you'll hit 165 with plenty of charcoal left.)
OK. So. Some time has passed. The stars have drifted into new and bizarre constellations; the seas have risen to reclaim the land and all the recalcitrant mudskippers pretending to belong on it; your pork shoulder's internal temperature has reached 165 degrees (or, less likely but possibly, your snake has been all burned up). If it hasn't yet, soon the pork will hit what is known by barbecue sickos as the stall: the point at which the rate of evaporative cooling inside the pork equals or exceeds the rate at which the grill's cooking temperature can heat the pork, and the pork's internal temperature just ... stops going up. This can happen at even lower temperatures than 165—it can happen at 150, and lemme tell you, that is a real tough break. It happened at a higher temperature than that because of the hot water in the drip tray; because it kept the air super humid inside the grill, which limited the evaporative cooling happening on or in the pork. The stall can also last, in the case of a very large boulder of pork like a nine-pound Boston Butt, for an incredible number of hours. Longer than seems possible. You are going to have to help your pork shoulder break through the stall faster than that.
So, this is actually fairly easy. Using tongs or your thickly gloved hands, remove the pork shoulder from the grill (being sure to put the lid back on there after you do) to a big cutting board or baking sheet and wrap it tightly in at least two complete layers of aluminum foil. This, in the words of this random blog on the subject that I read a long time ago, will "create an environment of nearly one hundred percent humidity, effectively braising the meat" for the remainder of its cooking time, which will cause it to blast through the stall much more quickly. The layers of foil must be as completely sealed as you can manage; any exposed pork is an area where it can evaporate its liquid away, and in so doing cool itself. What I recommend doing is pulling the probe out (if you're using one), wrapping the pork completely and erring on the side of over-wrapping it, and then stabbing the probe back through the foil and into the pork, so that you've created the tiniest possible opening and there's virtually no place for steam to escape.
Now it's Decision Time. Your pork has been smoking for, conservatively, at least six hours by now. It isn't nearly done cooking—its target temperature is around 202 to 205 degrees, the point at which virtually all its internal collagen will have broken down into the slippery gelatinous stuff that makes slow-cooked pork so incredibly delicious—but it is as smoky as it is going to get. Beyond this point, a defensible reason to keep it inside the grill instead of, say, moving it to a preheated 250-degree oven, would be something like "I'm already using the oven for something else," or "I don't want the inside of my house to smell like smoked pork for 48 hours," or "I don't have an oven." Whereas an indefensible reason for doing that would be some Captain Ahab shit like "By God this damn grill and I are going to see this work through to the grim end."
You can see where I'm going with this. What I recommend is that you move the foil-encased pork, at this point, to a preheated 250-degree oven. If you have a deep-sided roasting pan with a V-shaped wire rack, the kind you'd use to roast a Thanksgiving turkey for example, then I recommend you drop the foil-wrapped pork shoulder onto that rack, put the rack in the roasting pan, and sock it into the oven. If you don't have that kind of pan, you can just set the pork shoulder in any big roasting pan or casserole dish that will fit it. (I don't recommend a shallow cookie sheet; this thing is going to drip.) Now let's pause for a moment to divert into a personal story that can also double as a cooking recommendation.
When I cooked a pork shoulder this way, with the roasting pan and V-shaped rack, a little over a week ago, at the point at which I moved it to the oven, I poured what was left in the jug of apple juice (not the spray bottle with juice and vinegar and water, but the jug the juice came in when I bought it) into the bottom of the roasting pan, figuring it might help to keep things extra humid in there and impart some nice apple aromas to the pork. And it did!
What also happened, though, was that over the ensuing, uh, very many hours that the pork spent cooking, the apple juice simmered away to a sugary apple syrup, and then turned into a hard, sticky, caramelized coating on the bottom of the roasting pan. By the time I took the pork shoulder out of the oven, it was three in the damn morning, and I didn't feel like dealing with the caramelized stuff stuck to the bottom of the pan. I just pulled the pork apart—it slid apart like its muscle fibers were lubricated with butter, hell yeah buddy, hell yeah—and dumped it in the pan on top of the caramelized stuff and figured I'd have to do some scrubbing after all the pork had been eaten. But then, the next day, without really thinking about it, I popped the tray into a 170-degree oven for a little while to warm it back up for dinner, which caused that sticky stuff on the bottom of the tray to melt into an insanely rich and delicious mixture of sweet apple syrup and salty rendered pork fat. When I discovered that this had happened, I had the presence of mind to quickly toss the pulled pork with this dark and sexy liquid until they were all mixed together. Reader, it tasted infuckingcredible. This is what I recommend!
In any event, your pork is going to take a while, possibly up to several more hours, to get to the finished temperature of 202 to 205 degrees. Oftentimes with stuff like roast chicken or a nice thick steak, you can target a temperature 10 degrees below where you're trying to get, and then stop cooking it and just let its residual heat carry it the rest of the way to its goal. With this big pork shoulder, I don't recommend it; one time I did that, took the shoulder out of the oven at 195, let it rest for 20 minutes, and then discovered to my disappointment that it had cooled down to 191 degrees. (It was still delicious, to be clear.) Just cook it to 200 degrees, or even to 202. It'll be fine.
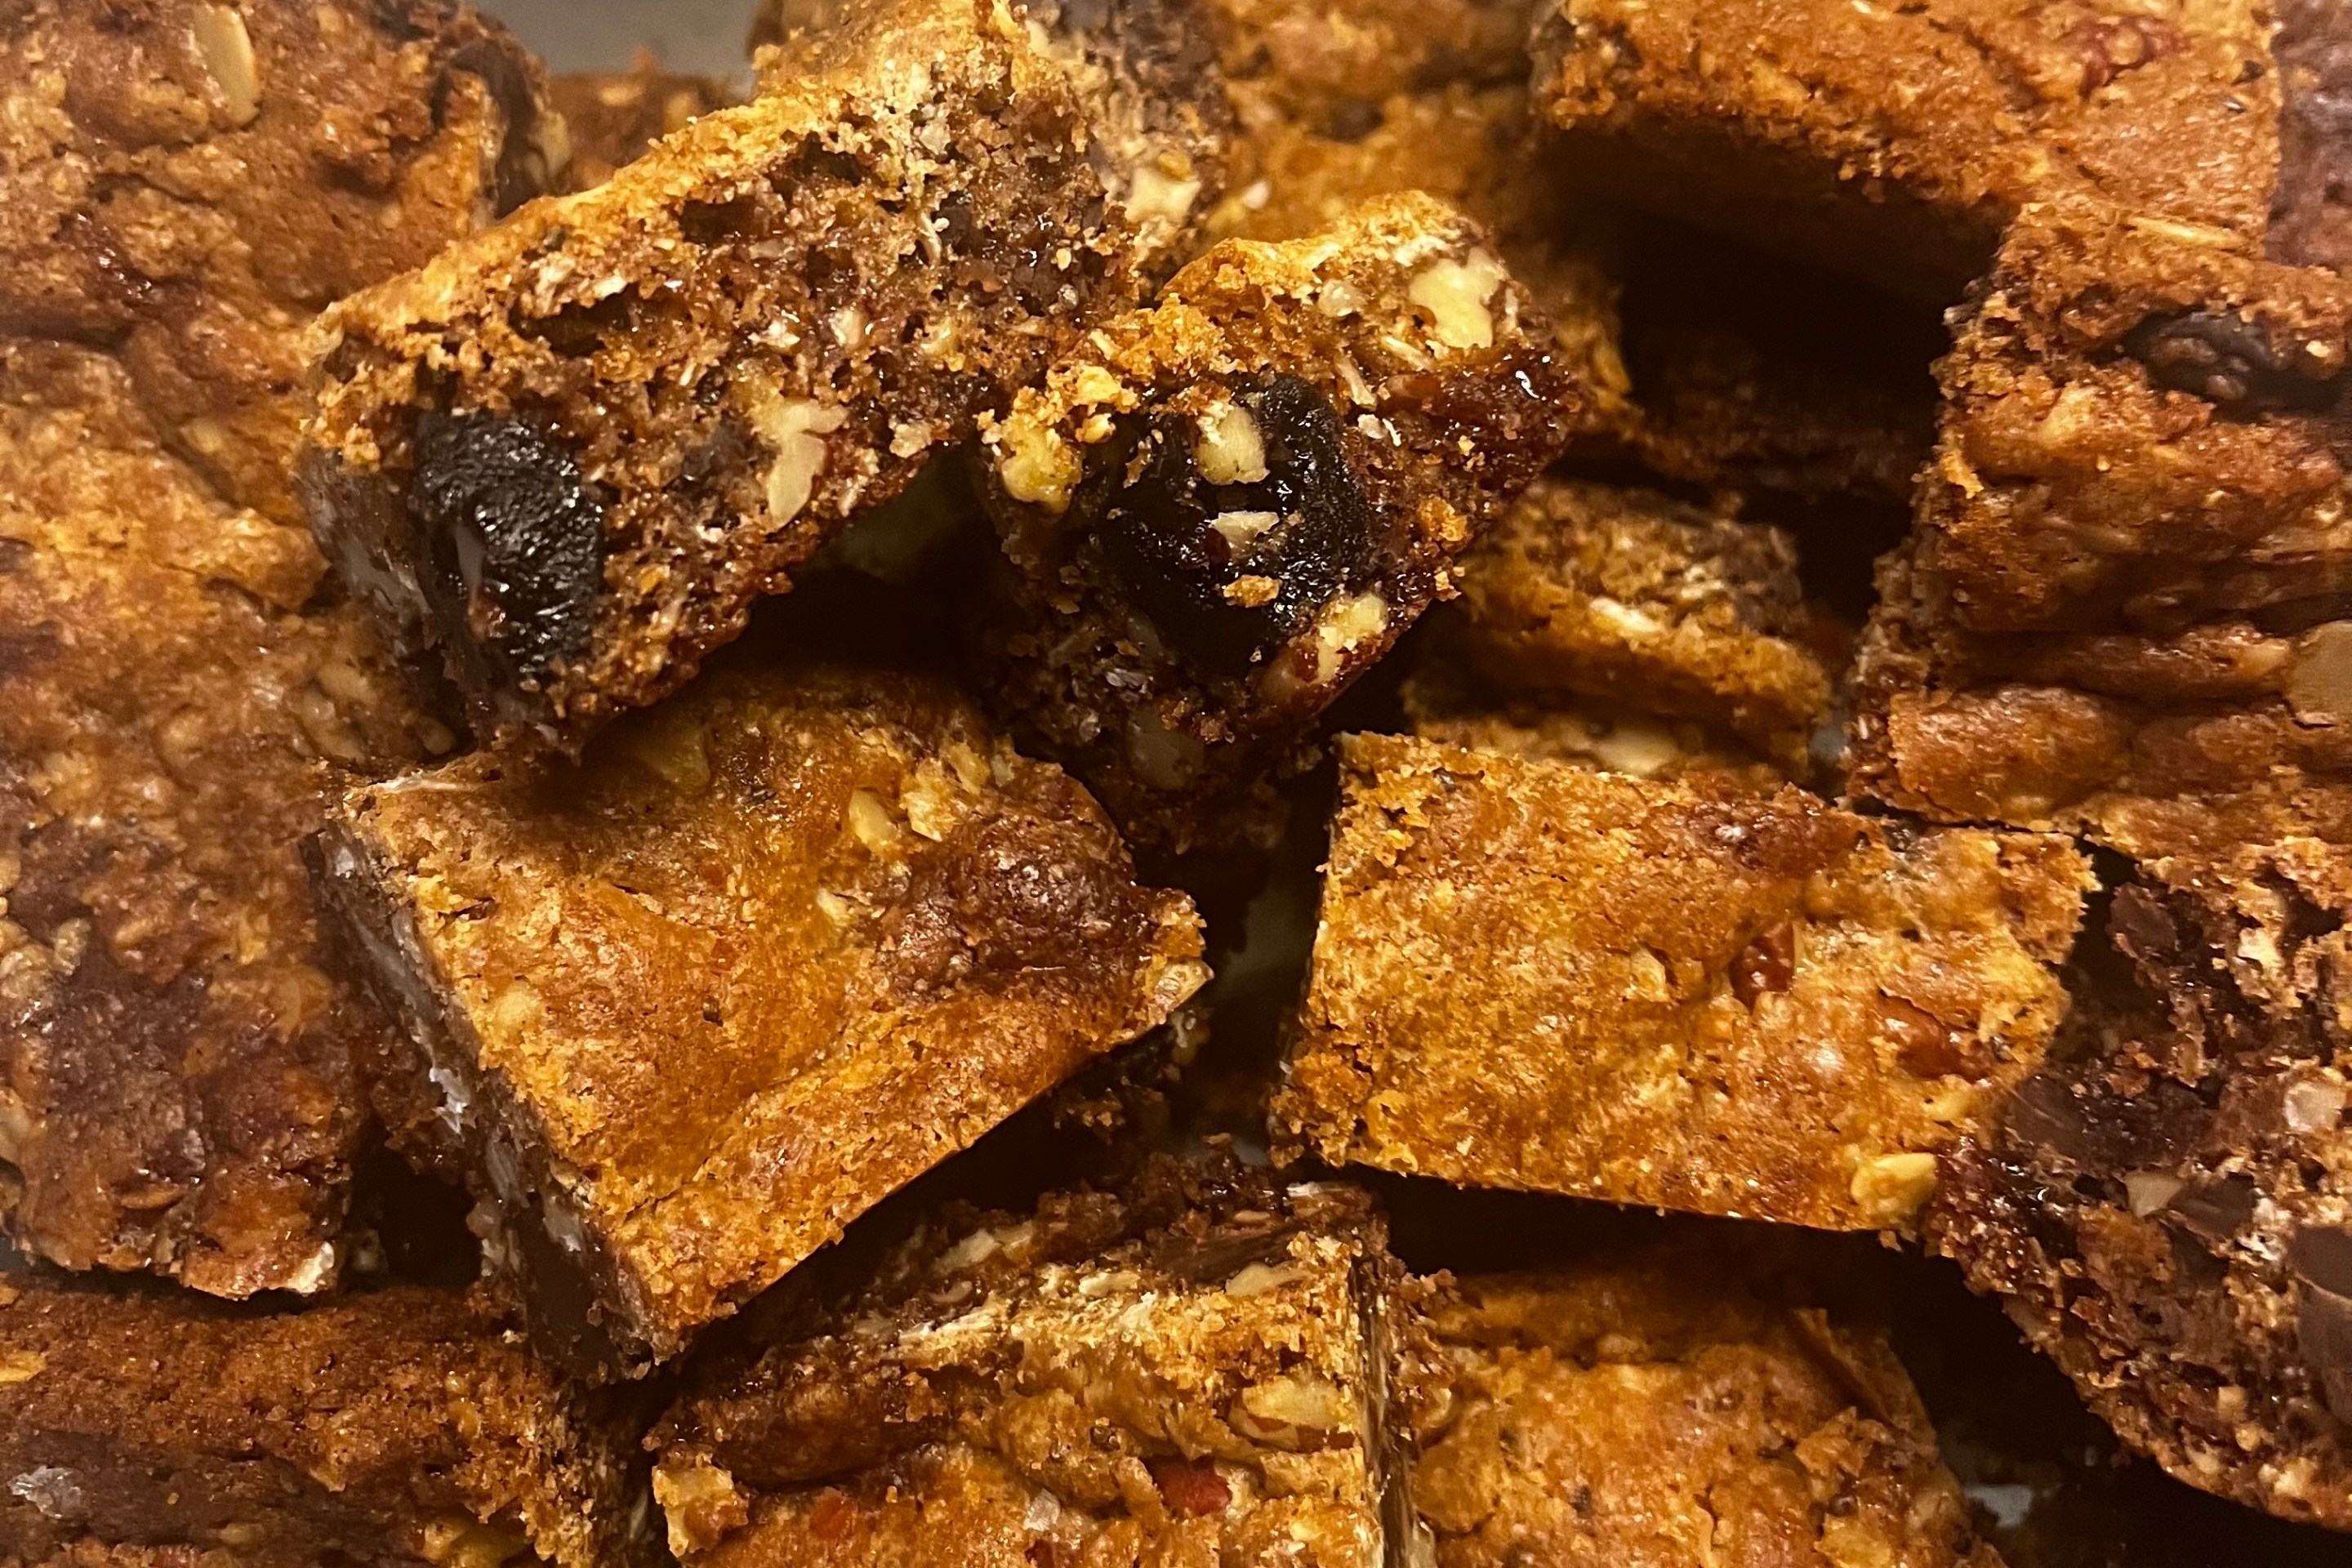
OK. Last thing. Or one of the last things. Take the pork out of the oven and let it rest in its foil sarcophagus for an hour, or up to several hours. This will give some of its liquids time to, well, frankly, congeal a little bit, so that the pork will be silky and luscious, which is better than it merely being wet. The resting part should not really be a problem, logistics-wise: It's likely the middle of the night by now, unless you started cooking this thing in the middle of the night. If it's the middle of the night, and you are ready to go to bed, then when the pork is done resting, or when you are sick of this shit and you are not going to just sit around allowing this thing to rest when you yourself, as a living creature and not a giant cooked wad of pork, feel that your own rest needs should take priority, go ahead and remove the foil and pull the pork apart with a pair of forks or tongs or accursed monkeys' paws or whatever; it should slide apart in just the absolute most drool-inducing of ways by now.
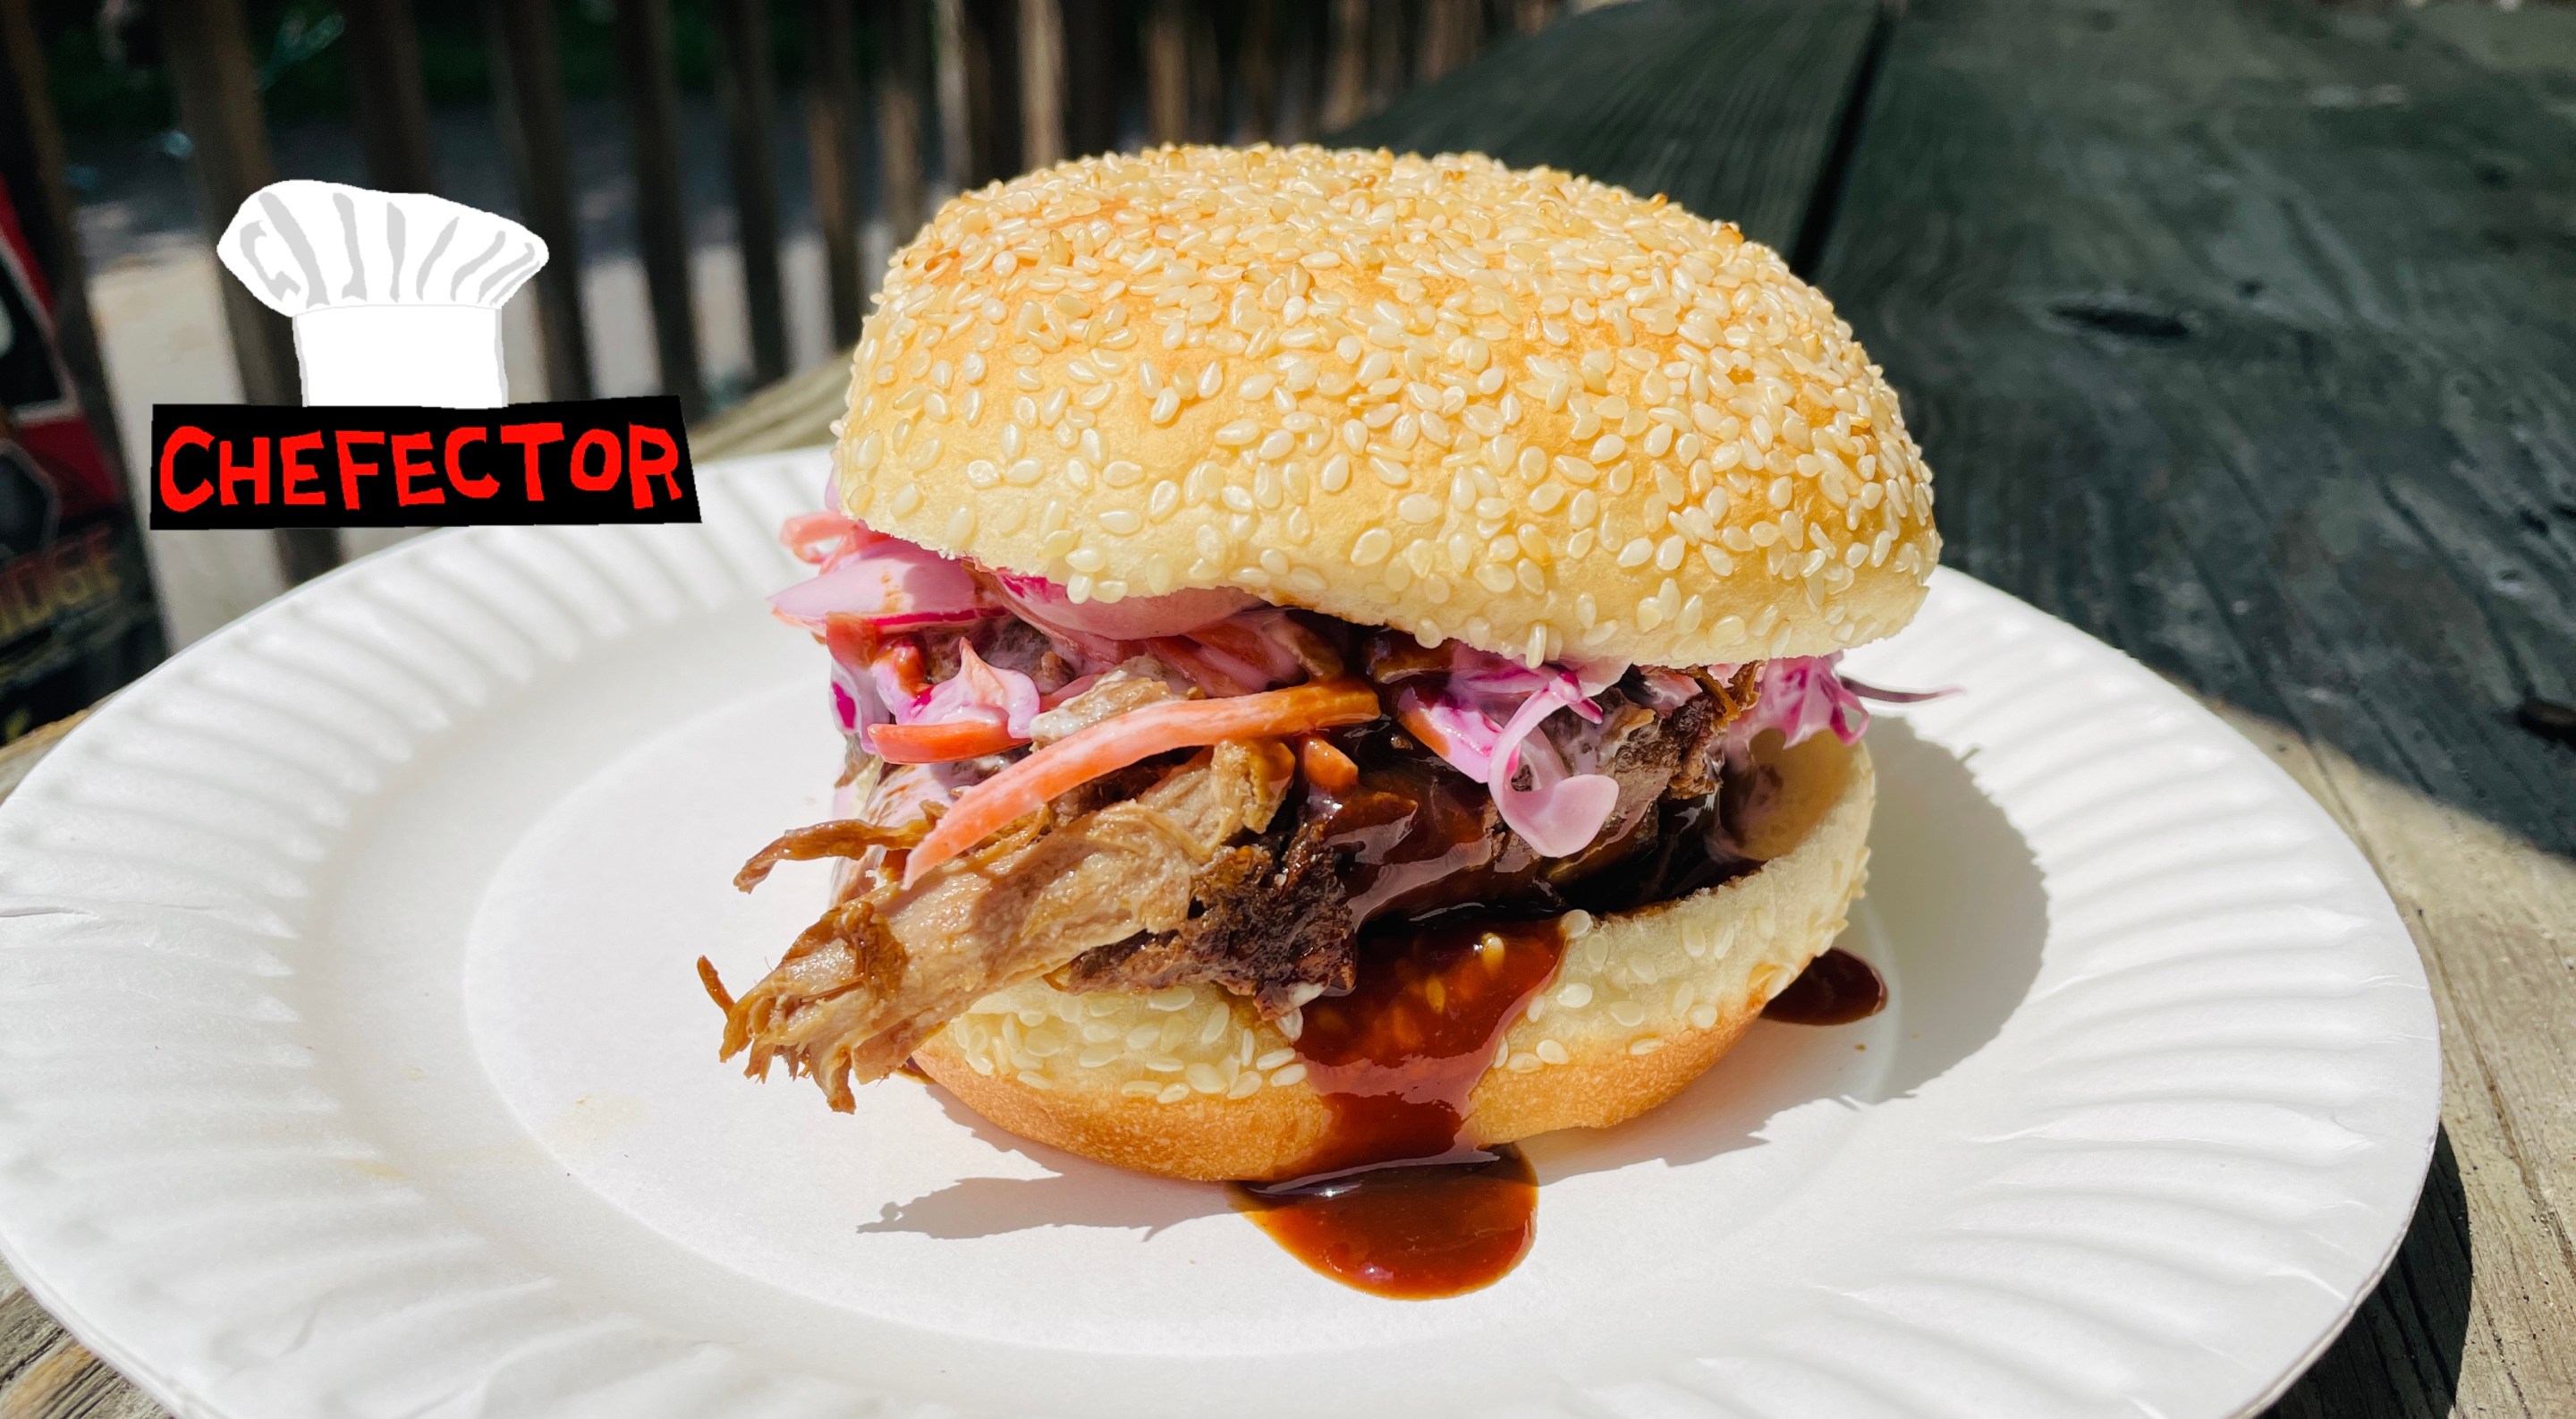
If it's not time to eat, it's fine to put some foil over the pan with the pulled pork in it and set it aside, or stick it in the fridge while you catch some sleep; later you can reheat it in a very low oven for a short while, or sizzle it in portions in a hot pan, or whatever. Tomorrow you can sort out how exactly you wish to make a meal of this stuff: with barbecue sauce or hot sauce or nothing, on buns or bread or nothing, with cole slaw or potato salad or macaroni and cheese or all of the above or nothing. For now, treat yourself to a bleary exhausted bite. It's so damn good. Maybe another. Maybe just one more. To be sure.