
Frozen, store-bought pierogi are fine. They're fine! Don't be too proud or insecure to admit they're fine. I—a Burneko, that is to say, descended from The Pierogi Lands, very probably with a potato for a heart and a cabbage for a brain—have eaten, conservatively, several hundred frozen pierogi in my lifetime, and I have delighted in every single one of them.
I simply wanted to have made my own pierogi—to know how to do it, and that I can, so that I can now daydream about future pierogi fillings and have those daydreams juiced by the knowledge that I could, at any time really, make them reality, having already done the most stressful and intimidating part, which is learning how. No small part of enjoying life, I have come to learn, is doing this for yourself: Just enough, that is, to add a feeling of possibility to future idle imagining, whether or not you ever seriously intend to fulfill it. Making pierogi is kind of a pain in the ass! But having made pierogi is nice. It almost feels like overkill that they come out way better—richer, more interesting, more delicious—than their perfectly fine and lovely frozen counterparts that you buy at the store.
It's a lot of work. You had better get started. I'm sorry if this is not how you thought today was going to go, but it can't be avoided. We're—you're—gonna make the most normal type of pierogi, with potato and onion (and possibly cheese) filling. A proof of concept, containing all the butter there ever was. Let's do it.
Here are some things that you will need.
You'll need some all-purpose flour. Wait, no! We're still so close to the beginning. Please do not run off and return with a box of frozen pierogi yet. I too know the dread of all flour-adjacent cooking: the mess, the measurement, the mess, also the mess. I know it well! I can offer you no words of comfort here other than my personal assurance that you will not find any leavening agents listed below, plus a confident prediction that it will be fine, and possibly even a little bit fun, and that if it isn't you will never have to do it again.
As for how much flour, well. Hm. Two cups of flour, with corresponding proportions of all the other ingredients we'll get to below, will yield, oh, maybe like 36 to 40 pierogi, depending on how thin you roll the dough out later on. That's enough for each of six people to enjoy a quite filling half-dozen pierogi, with maybe a few left over. Nice. Whereas four cups of flour will make twice as many pierogi as that, and you will have an obscene pierogi feast—or, possibly, the opportunity to freeze a lotta friggin' pierogi and enjoy your own homemade pierogi later on without having to go through the whole friggin' procedure all over again.
I think that I do not have to tell you which of these routes I followed when I (really we, it definitely ended up being a village type of deal) made pierogi last week. For this blog let's assume that you, like I did, are going the pierogi feast route, and it'll fall to you to cut all the measurements by half if you, uh, want to make half as many pierogi as that. So! Four cups of flour. Plus a little bit kept aside for flouring a work surface and a rolling pin later on.
You'll need a couple of eggs; beat them in a bowl. You'll need salt—a couple of big pinches for the dough, and then more for the filling. You'll need butter: A stick for the dough, and then a couple tablespoons for the filling, and then maybe even another couple tablespoons if you decide you want to crisp up your pierogi in a pan before you eat them. Salted or unsalted is fine; if you go for the latter, that'll give you a little bit of extra protection against accidentally over-salting things. All of the butter should be room temperature.
Yes, I know that this is an obscene amount of butter. I don't have to explain myself to you, and I won't damn do it. You'll also need maybe a little less than a cup of plain cold water.
You'll need sour cream. Many pierogi recipes, including some credibly, like, traditional ones, use some sour cream in the dough; I think you can get away with leaving it out, and since the dough is by far the most annoying part of making any kind of dumpling, I think you should get away with what you can get away with. You still need sour cream, though, because it's the most delicious topping for pierogi.
You're gonna need some potatoes. It's not especially important that these be either the waxy or starchy kind; peel them, chop them into inch-sized hunks, cover them with cold water in a pot, and set them aside. You don't need as many potatoes as you might guess: Six roughly baseball-sized potatoes will be more than enough. On the other hand, you'll need more sweet yellow onions than you might guess: Six of them! Slice these into thin, narrow strips (a mandoline slicer on its finest or next-finest setting is nice for this, provided you don't remove your fingertips in the process) and heap them into a bowl.
Now there is the subject of cheese. It's very normal for pierogi to be made with central- and/or eastern-European cheeses (or cheese-like dairy products, more strictly speaking)—quark, twarog, etc.—roughly equivalent what's known in the U.S. as "farmer cheese," the soft white stuff you might find hanging in a cheesecloth bag over a farmer's front porch. None of the above are all that profoundly dissimilar to cottage cheese, and so sometimes pierogi recipes for American home cooks substitute whole-milk cottage cheese, which is much easier to find in your average town, and that's fine. I used cottage cheese last week and it was fine. If you add, like, two cups of drained whole-milk cottage cheese to your pierogi filling, your pierogi are going to taste good and you'll be glad to eat them.
On the other hand! Your pierogi were already going to taste good even if you added no cheese at all. Cottage cheese is extremely mild in flavor, including in comparison to those harder-to-find cheeses; this can be a virtue in some uses, but it also means that cottage cheese will contribute very little to your pierogi filling. Using it ends up feeling like you are checking a box—My pierogi have soft white cheese in them, as pierogi often do, and thus are Correct—rather than, like, adding meaningfully to the deliciousness of a lengthy and exhausting cooking project.
Here is what I recommend: If you can run down some quark or twarog (or, insanely, feel like making either of them yourself for this project), use that. If you can't, but you still want cheese in your pierogi, go for something that will add some slight sharpness or tartness—some dang cheesiness!—to your pierogi. A little feta, or maybe some goat cheese, or even, heck, some shredded frickin' cheddar. Yes, this will trade back some authenticity in exchange for flavor, but cottage cheese likewise would trade back authenticity, and in return for much less flavor. You can do a better trade, is what I'm saying. I'm just talkin' frickin' economics here. Flavor arbitrage or whatever! Doing high-level business deals!
It's also fine to use no cheese at all. They're your damn pierogi.
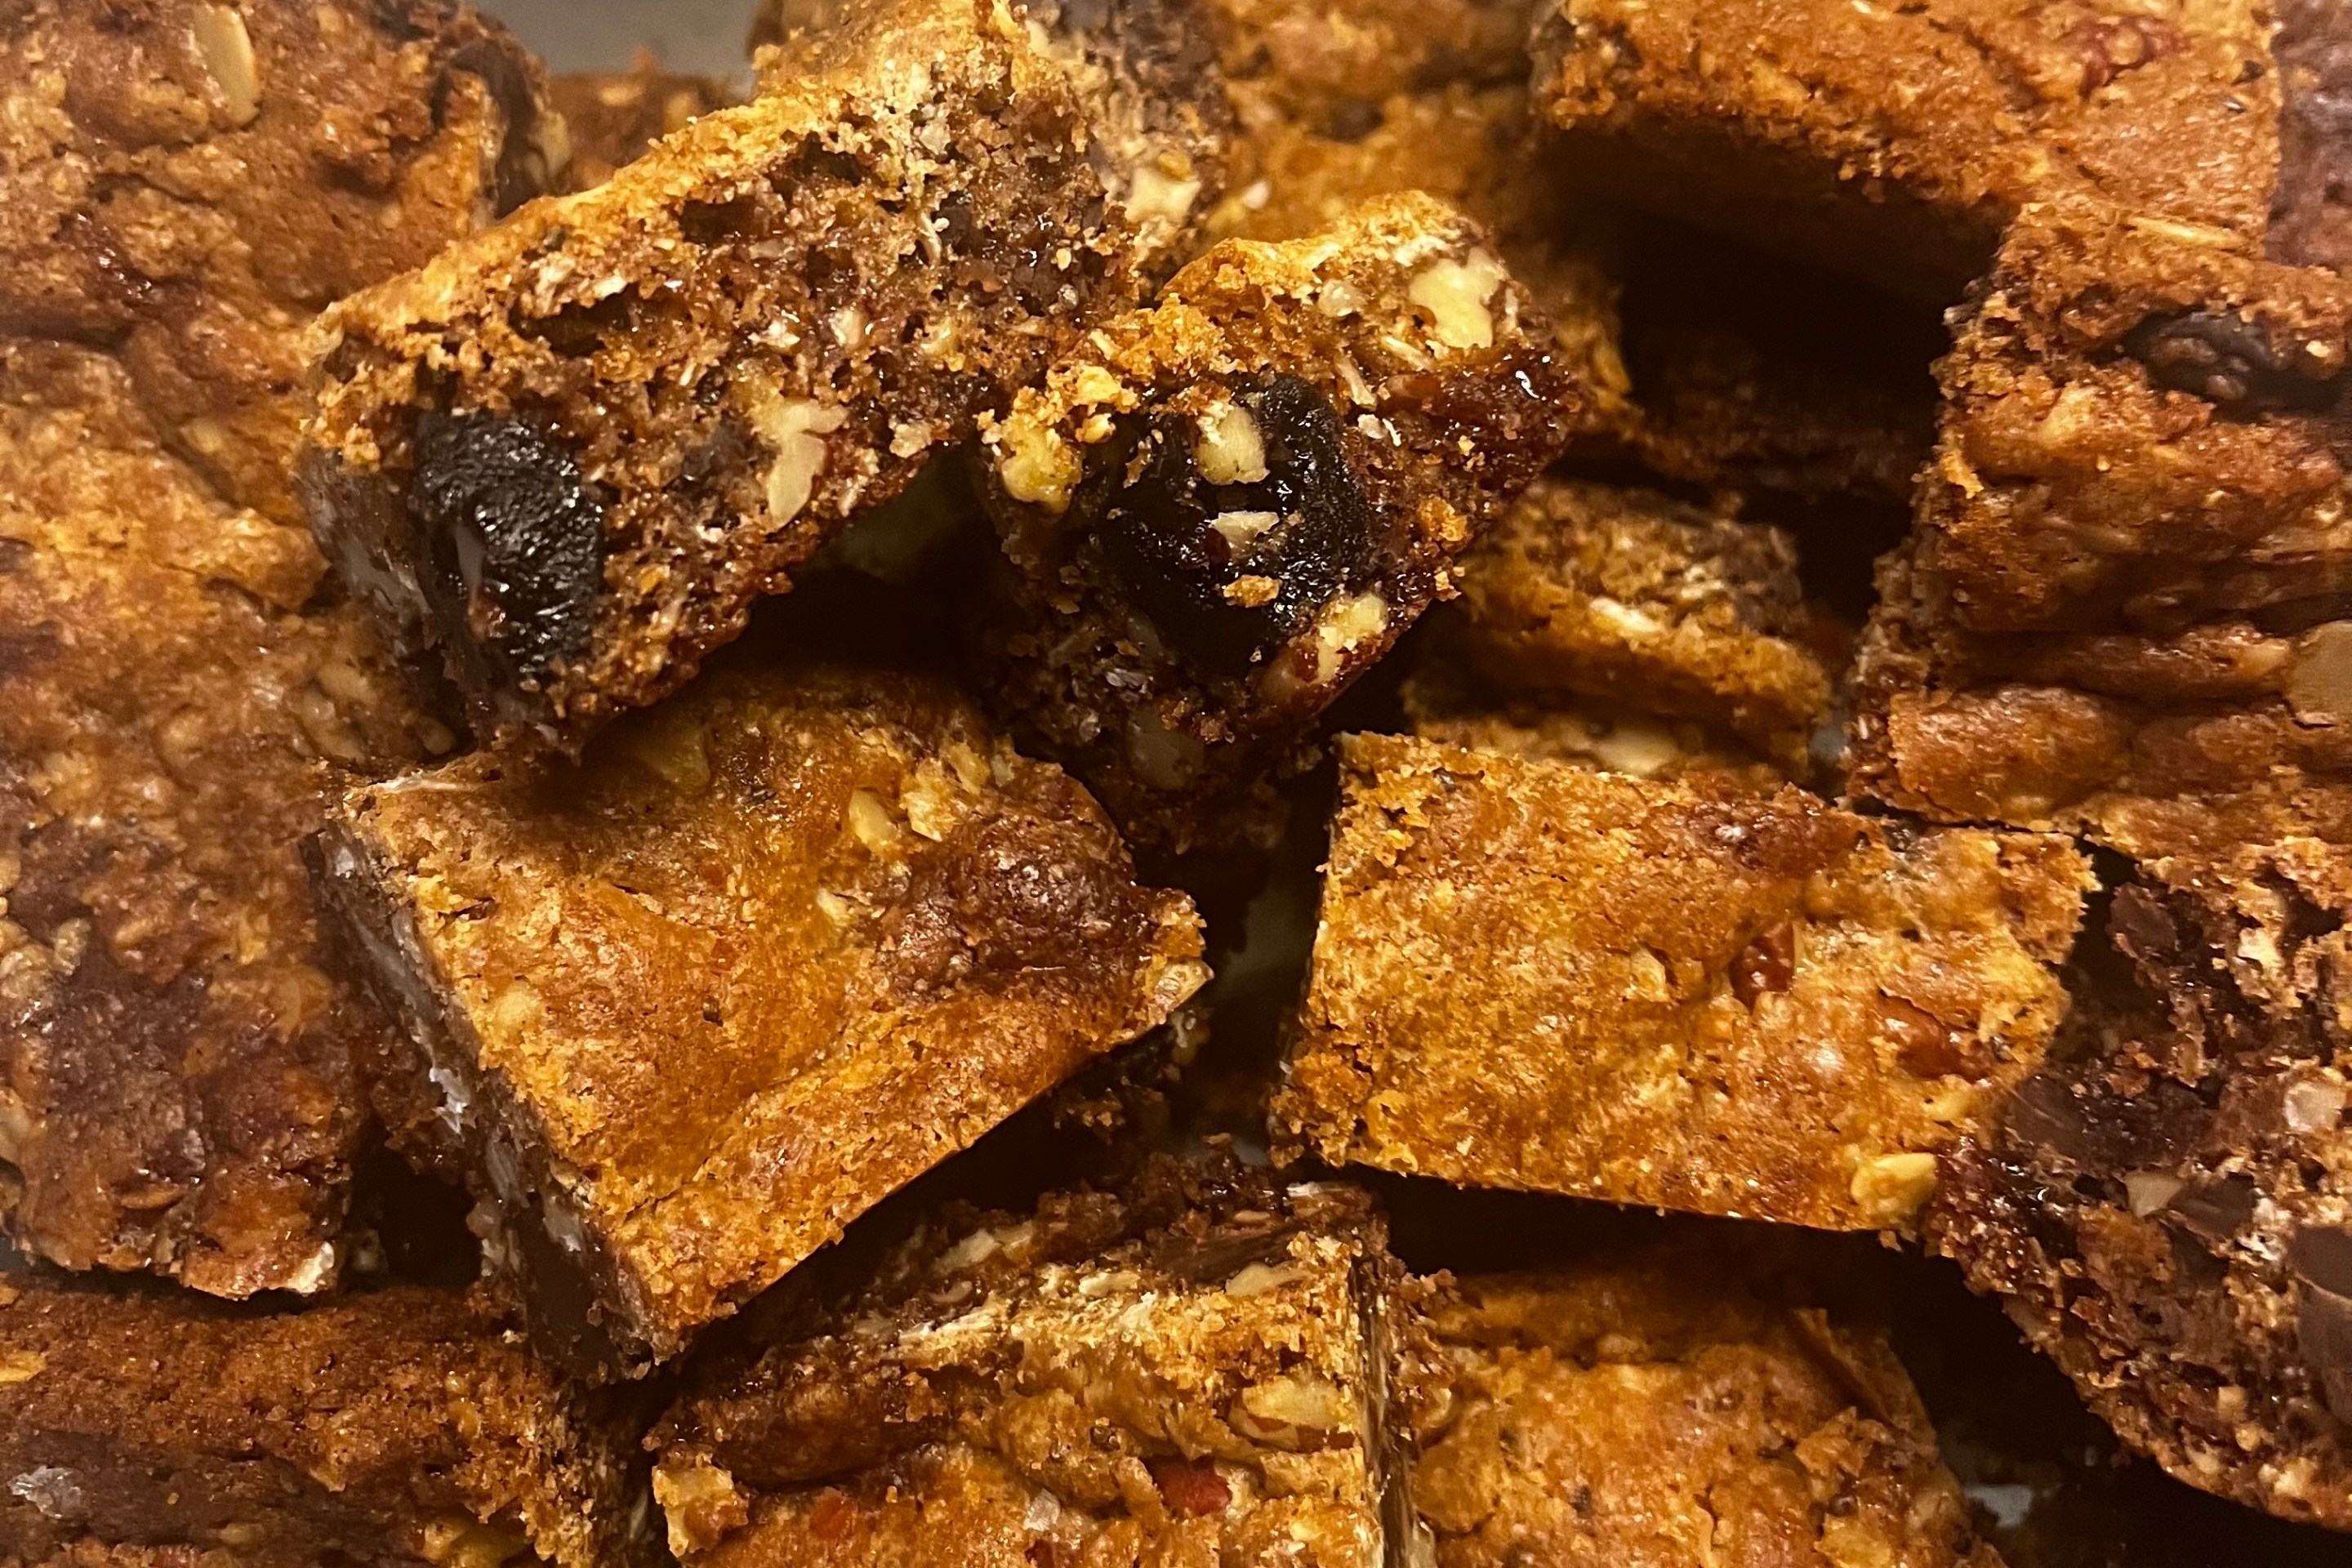
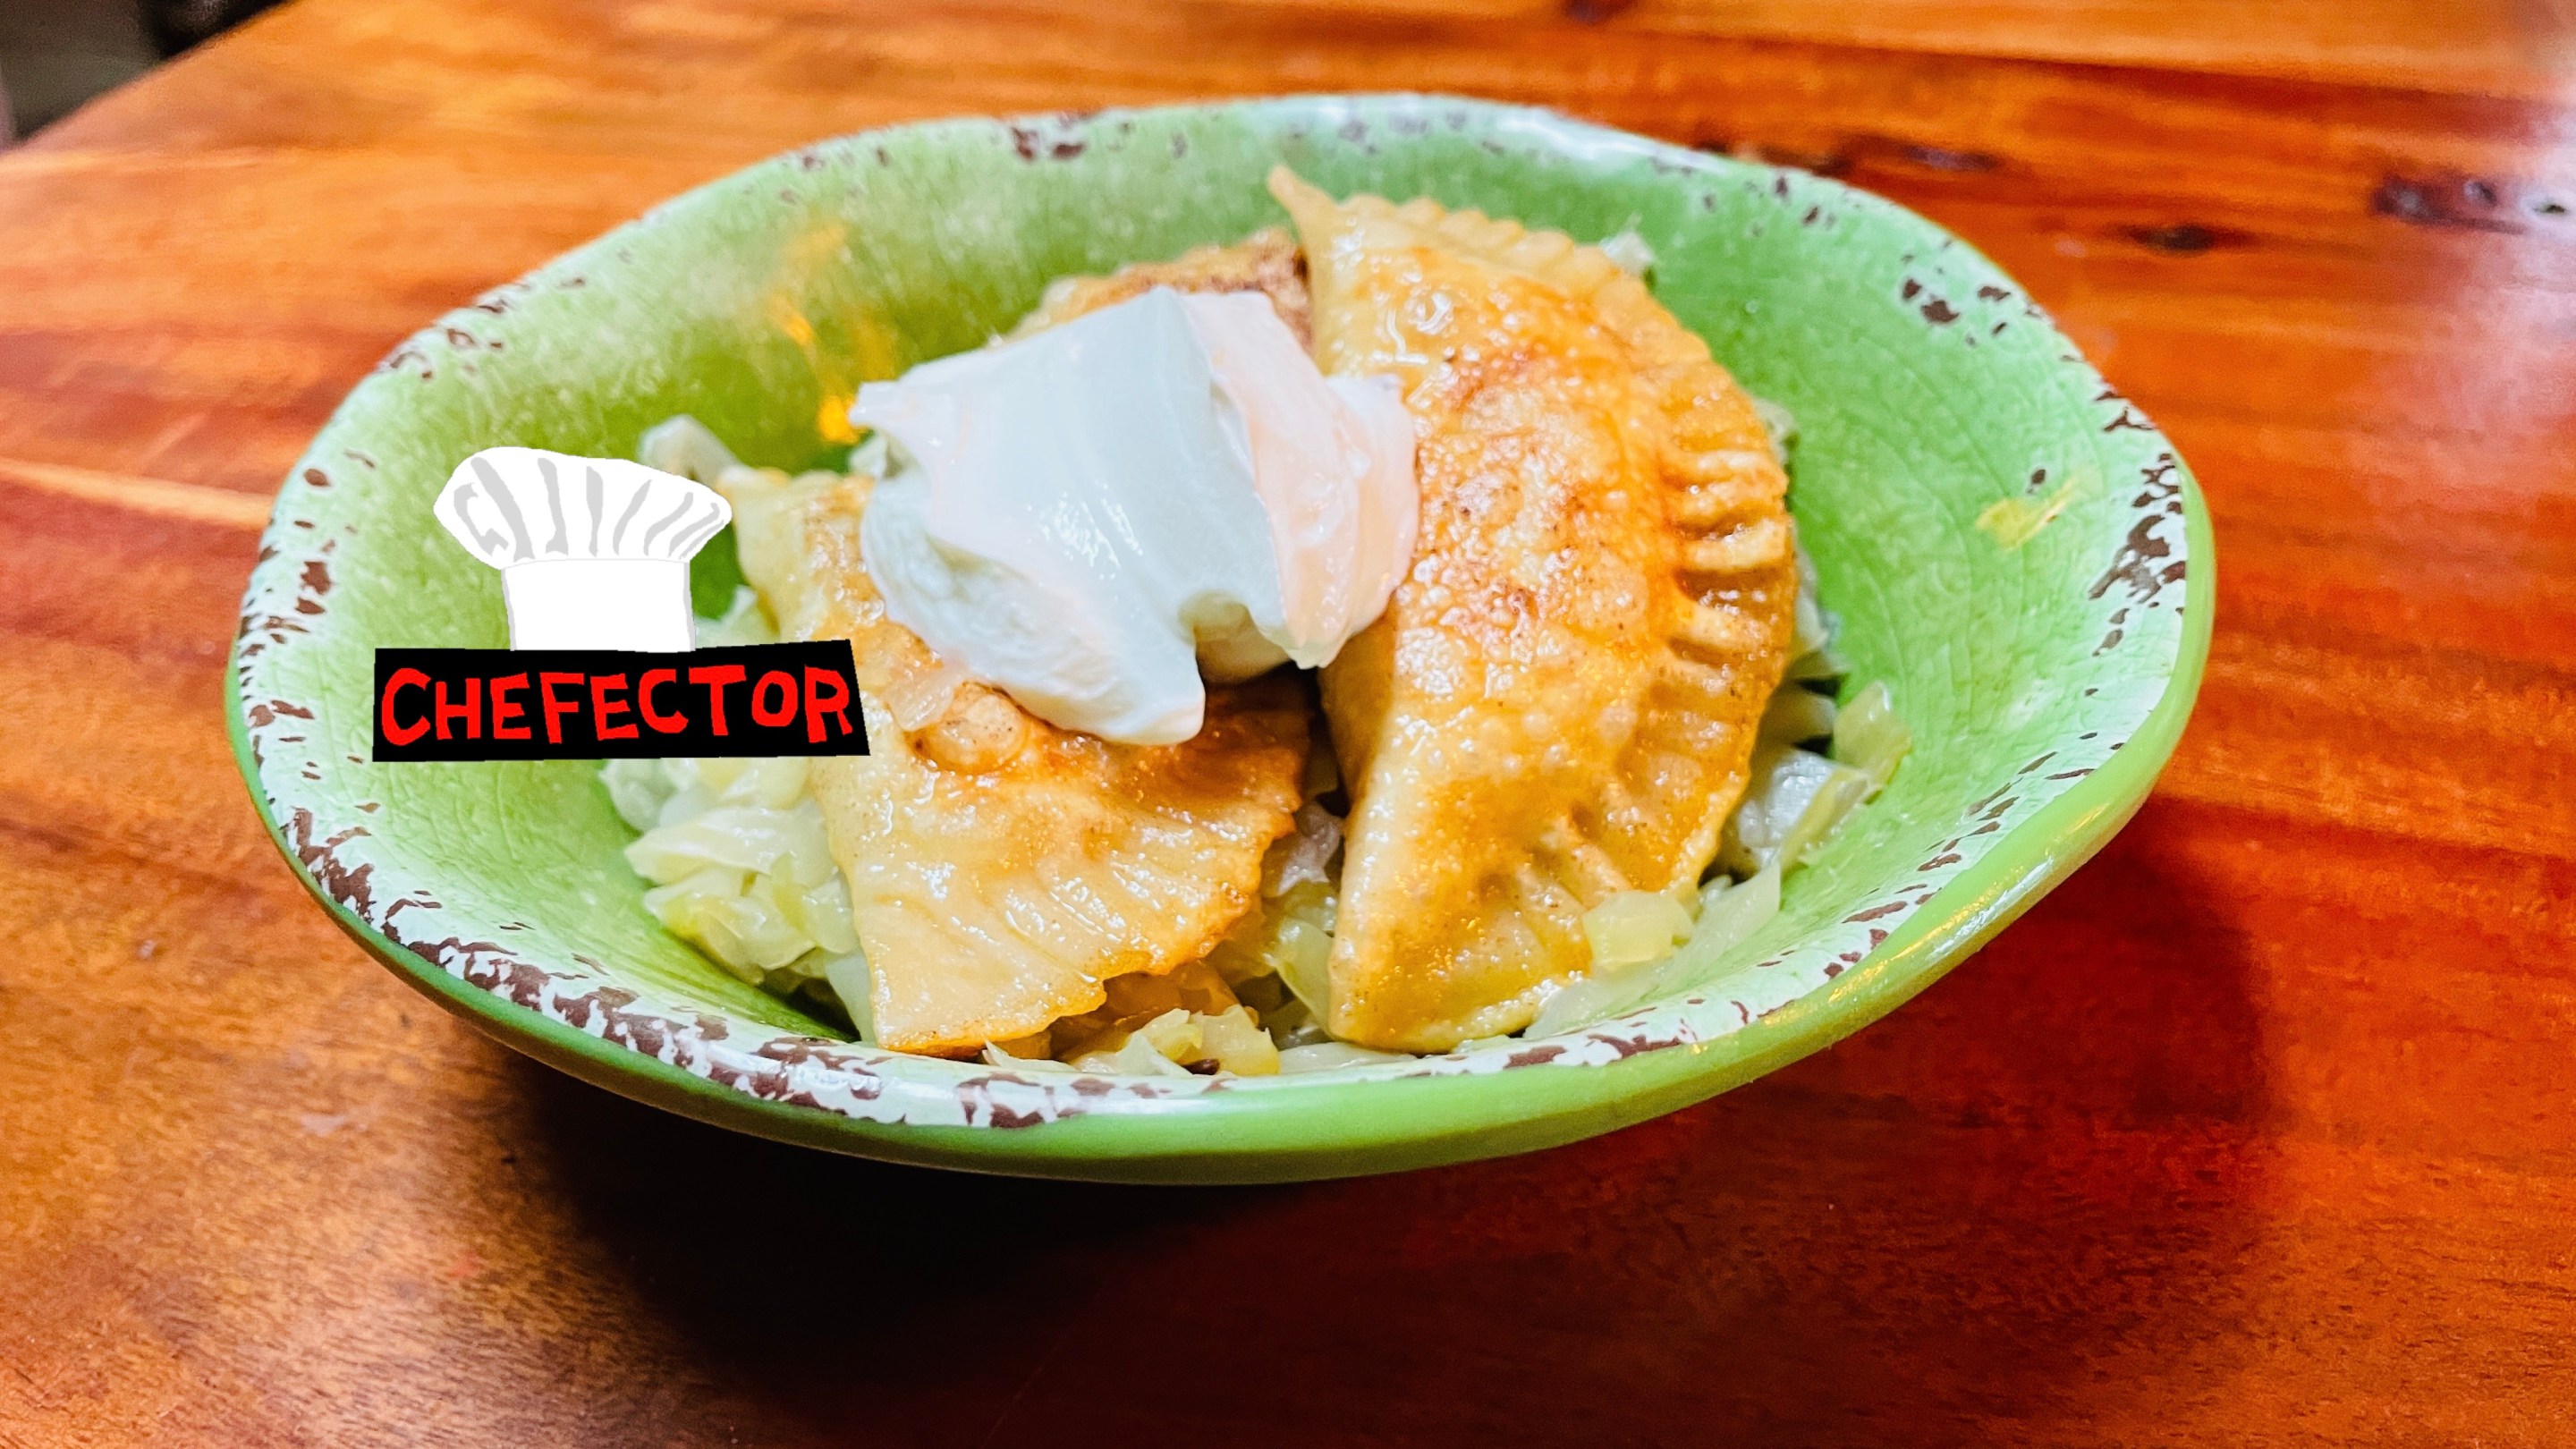
(Strictly speaking you do not need a big head of green cabbage; strictly speaking you do not need pants either. I recommend both. I recommend chopping or slicing the head of cabbage, sweating it in a pot with some butter or olive oil, and salt and pepper and maybe some caraway seed. Then I recommend pouring in a couple of cups of chicken stock and simmering all of this for a little while until the cabbage is cooked and sweet. You can fill pierogi with this delicious cabbage, or you can put it under or on your finished pierogi. You can also not do this. But I recommend doing it! If you look at the photo at the top of this blog, you'll see that the pierogi are seated on a bed of stewed cabbage; eating them with the cabbage, heaping a bite of cabbage and pierogi together and firing it down, was a downright indecently tasty experience. The kind that makes your eyes roll around and your shoulders slump; that renders you incapable of communication except via prehuman grunting. As for the pants, I recommend wearing them.)
I think that was it for the ingredients. As for non-food stuff: You'll need a big flat clean surface for working with dough (this can be a countertop or a tabletop or a large cutting board or an upside-down cookie sheet; it can be the floor for all I damn care!), and you'll need a rolling pin. You'll need a big pot for boiling pierogi in water; this can be the same pot you dumped the potatoes into, since you won't boil the pierogi until long after you've finished boiling the potatoes. You'll need a vessel for cooking the onions; this can't be that same pot, since the onions will cook separately from the potatoes and at the same time. You'll need wax paper for lining up the uncooked pierogi as you fill and form and seal them; if you have a couple of flat baking pans or trays you can put them on, that'll make things a little easier—especially if you intend to freeze any of the pierogi for later enjoyment—but you can do without. You'll need a round cookie cutter or a water glass of normal dimensions, for cutting out disks of dough. You'll need a slotted spoon or wire spider skimmer, for extracting the boiled pierogi from the water later on without damaging them. You'll need some number of bowls of various sizes, as you'll see below, including a large one for making dough. I think that's it. Let's cook and find out.
OK, so, you have that big bowl for making dough. Let's make dough in it. Into the bowl goes the flour plus a couple big pinches of salt; stir these together with a fork or wire whisk or the Trident of Poseidon or whatever. Now add the beaten eggs; fold them in gently with a silicone spatula or wooden spoon so that you don't get flour all over the place. At this point the stuff in your bowl will not remotely resemble "dough"; it will be crumbly and largely dry. Add the water next, gently folding and stirring. Still not dough, right? Definitely still not dough.
Now fold in that stick of room-temperature butter designated for the dough. Fold and stir and fold. It still won't resemble "dough" yet! It'll just be weird big sticky lumps, at best. Scatter some flour over that big flat working surface, and turn this stuff out onto it. With your mighty hands, you're going to knead it: Smash it together and fold it over and squeeze it and press it down with your fists and fold it over and squeeze it and press it down with your fists and on and on, nonstop, for like eight or 10 minutes, forcefully enough to make your wrists and hands tired and somewhat achy. And as you do you're going to see that it gradually comes together into something whole and modestly stretchy and glutinous, a big beige ball that you could conceivably mold into a rude shape if you wanted to. Dough! It's dough now.
Dump this big ball of dough onto a large plate or back into the bowl and cover it completely with plastic wrap or (less ideal) a damp towel. It needs to sit with its thoughts for a bit, while you prepare pierogi filling.
Remember that pot with the hacked-up potato and water in it? Put the pot of potatoes and water over high heat on the stove, add a big pinch of salt, and bring it to a boil. Prod the potatoes with a fork every, oh, 10 minutes after they come to a boil. Eventually, probably within 30 minutes, they'll be what cooking instructions always insist upon calling "fork tender," even though the word "tender" always gives me the willies: A fork will slide into a typical potato chunk with minimal resistance, but the potato chunk will not immediately fall apart or dissolve yet. When they get there, drain them in a colander.
But in the meantime! While the potatoes are cooking, cook the onions. This is straightforward: Melt, oh, like a tablespoon of butter in a saucepan or saucier pan or whatever vessel you've designated for onion-cooking, over medium-high heat. Chuck in the sliced onions, sprinkle them with salt, and move them around with your cooking implement of choice while they sweat and soften.
Six onions was a lot of onions! If they won't all fit in there right away, it's fine to add them a fistful at a time, giving each a minute or two to wilt a little, and thus take up less space, before you add the next, until they're all in there. (If they still don't fit even after they're wilted, I'm sorry to say that you have used too small a vessel.)
Another thing about six onions being a lot of onions is that, as the onions cook, they're going to release a lot—six onions' worth!—of watery onion juice. Because the vessel is pretty crowded—six onions!—this juice is not going to evaporate very quickly, which means that the onions, at least for a little while, are not going to be sautéing in butter so much as they are going to be simmering in onion water with some butter in it. That's fine. Just let them do this for a little bit, moving them around every couple of minutes with your implement; eventually much of that watery liquid will have evaporated and the onions will begin sautéing in earnest, and they'll turn a more golden color and become sweeter. They're not going to caramelize, nor even come close to it, by the time the potatoes are done, and that's fine. You just want them to be nice and sweet and delicious. Unless you want more than that, in which case simply start cooking them an hour ago.
Onions done? Potatoes done? Great. Dump the drained potatoes and cooked onions into a big bowl and kinda toss and fold and stir them together with a fork or a wooden spoon. You don't need or want fluffiness or homogeneity here; this stuff is going inside dumplings, after all. For that matter, if here and there the filling contains the odd modest lump of unmashed potato, that's good! Variety is good. Also this blog is already like 6,000 words. Grind some black pepper into this stuff. Taste it with a lil' spoon and add salt and/or pepper if you think it needs either or both. There. Pierogi filling.
It's time to make dang pierogi! This is the most tedious part of the whole deal, I promise, apart from reading this blog. It's great if you have some loved ones who can turn this into a group project, particularly if any of them are arts-and-crafts inclined; in that case it can even be fun, at least for a little while. If you do not, I am very deeply sorry.
Briefly uncover the dough, long enough to yank off a baseball-sized hunk; then cover it again so it doesn't dry out while you work. Roll out that baseball-sized hunk on your (floured!) work surface until it's very thin, as thin as you reasonably can manage, not quite read-the-newspaper-through-it thinness, but like an eighth of an inch. (This will help the pierogi cook more evenly and more quickly; it will also yield the highest possible number of them.) With that cookie cutter or water glass, cut out as many disks of dough as you can manage; ball up the remainder, roll it out, and cut out some more; decide whether you can stomach the idea of repeating until there's too little left of that initial baseball-sized hunk for even one more disk.
For each disk, pile a little tablespoon-sized scoop of filling in the center, fold the disk gently in half, and press the edges together (gently!) to seal them shut. If you have a fork handy, you can use it for the pressing-the-edges-together work; not only will this give your pierogi a nice artful look, it'll also just help seal them tightly. You can also seal them with your fingers; it's fine.
This will feel awkward and impossible at first, and you will be like, "I hate this"; help yourself get off to a good start by erring on the small side with the scoops of filling. Keep a little bowl or cup of cold water handy; you can use this to wet the edges of the disks before sealing them, to help them stick more securely. As you finish sealing pierogi, line them up on wax paper so that they're not touching each other, just to safeguard against them sticking together.
When you're done with that first baseball-sized portion of dough, tear off another and repeat, remembering each time to re-cover what's left of the dough so it doesn't dry out. You'll fall into a rhythm. You'll never be half as enthralled by this rhythm as by the prospect of finishing the work, but it won't remain as fumbly and awkward as it was at the start. If you have a team, you can have the muscle of the group do the rolling, and those with nimbler fingers and more artistic dispositions do the filling and sealing. The pierogi in the photo up there look nice because my wife the very brilliant artist did the filling and sealing; the small number I filled and sealed look, by comparison, like I sawed them off the sides of a retired boxer's head.
Mountains erode; glaciers retreat and advance and retreat; the stars wheel overhead and drift into alien occult constellations; and someday, far hence, the work of forming all these damn pierogi freaking ends, finally. Congratulations! This, in all sincerity, was a real frickin' bear of a job, and you did it, and that's cool. If you want to freeze your pierogi, keep them separated on the wax paper as you do; once they're fully frozen, you can put them in a heavy-duty freezer bag and seal it, but until then they shouldn't be touching or else they'll stick together and then rip each other apart later one when you try to separate them.
Otherwise, if you are ready to cook your pierogi, cook your pierogi! Fill your largest pot with cold water and bring it to a boil; gently (so as not to splash boiling water on yourself) drop 10 or a dozen or so pierogi into the water. After a couple of minutes, they'll bob to the surface and float; give them another minute, and then gently scoop them out of there with that slotted spoon or wire spider skimmer and slide them into a colander. Cook another batch this way, and so on.
You made like a bazillion pierogi; the first batches will cool (and stick together) if you leave them uncovered in the colander while you cook all the rest, and that will be a bummer. You have a choice, now. It is Choosing Time.
Many people (including me) prefer their pierogi simply boiled, and then topped with stuff and eaten. If that's you (and/or whoever else will eat your pierogi), you can tell everybody to begin coming and serving themselves pierogi out of the colander, so that none of the pierogi sit in there for very long while you cook the rest of them. Or! You can toss the hot, boiled pierogi with room-temperature butter—more damn butter! It's a butter feast!—and put them in a big covered serving dish; this will prevent them from sticking together, and the cover will help them maintain their warmth. You can continually add pierogi to the dish this way as they come out of the water, until they're all in there, and then it will be time to eat.
On the other hand, many people like the added step of pan-frying the boiled and fully cooked pierogi in a pan with some butter to give them some crispiness and color. (To be clear, I also like this, as well as virtually any other food pan-fried in butter; it's just not my favorite way to eat pierogi.) If that's you, then you can do this with each batch of pierogi after they've had a few moments to drain in the colander. They brown up very fast in hot butter, not needing more than like 40 seconds per side to get crispy; by the time each next batch finishes boiling, the one before it will have cleared out of the pan—into that covered serving dish, or onto somebody's plate. This doubles the amount of cooking you'll be doing at any given time, unless you can deputize somebody to mind either the boiling or the frying. It's fine to skip it! Boiled pierogi are spectacular!
It's been a long day. You've been cooking for like 43 straight years. Take a few minutes to sob discreetly into your hands, and then, dammit, treat yourself to some pierogi. You've earned them.
A handful of 'rogs, a little sour cream, maybe some chopped chives if you happen to have any around; a little bowl of hearty and filling dumplings, richly (some might say insanely) buttery, sweet with onion, deeply satisfying. Imagine how good they'll be when you fill them with sauerkraut! Or kielbasa and cabbage. Or sweet cheese and strawberry jam. Or when you daydream future fillings while quietly bearing the warm secret knowledge that nothing on earth could ever make you put yourself through this messy all-day procedure ever again, so long as you live.