
Welcome to the first official edition of Make It Nice. Each month, I’ll tackle your interior design questions and help you make your space feel beautiful. Today we have questions about storage, room dividers, and a kitchen conundrum. Let’s get into it.
Emma asks:
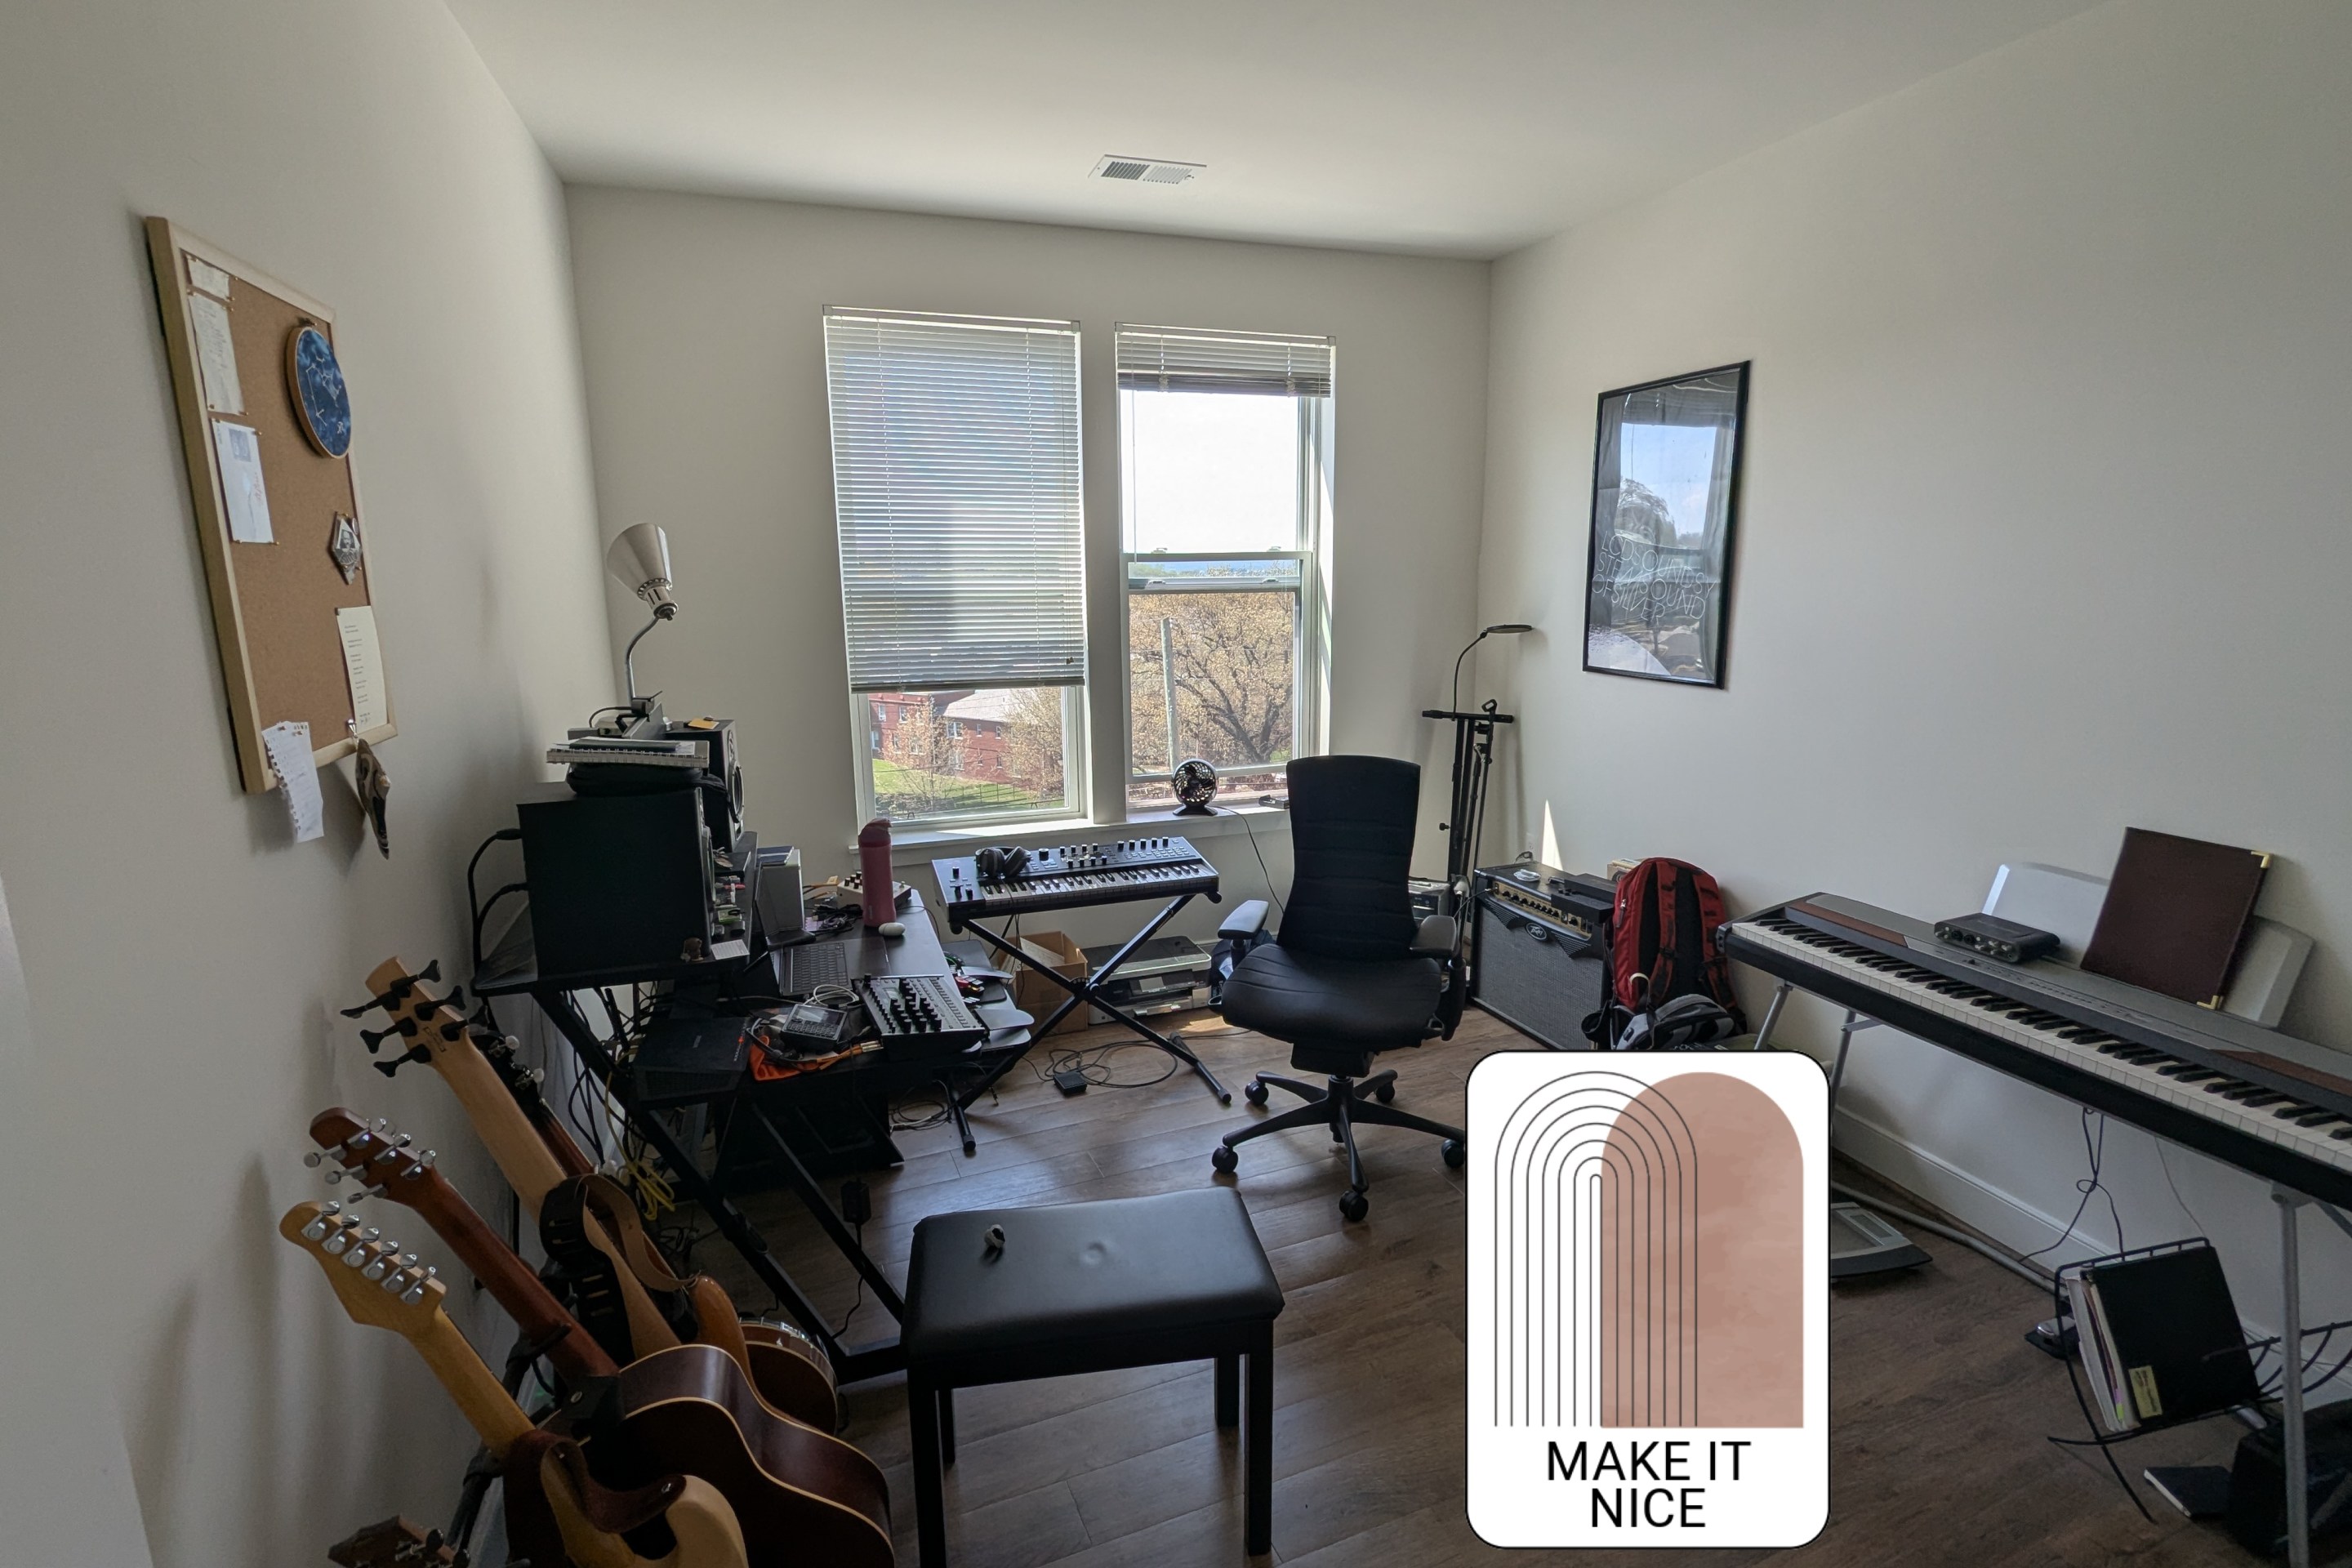
In our open plan living and dining room, we have a lot of stuff piled up against the wall. Things like my Pokemon card collection in binders, my craft projects (I do cross stitch and diamond painting), various paperwork, computer peripherals, and so on. Some of it is stacked up in the two spare dining table chairs we don't really use. I attached photos of the area.
I want something more elegant to hold this stuff in! (Honestly some of it probably needs to move out of the area and to a different part of the house, too.)
Emma, this is a judgement-free zone. No one’s here to shame you. But I need you to know that this room is stressing me out. And I say this with love, because I’ve been there. My office once looked like the inside of a tote bag you keep meaning to clean out: inexplicably full of random papers, receipts, loose change, and bobby pins.
First, you need to make piles. You can’t even begin to think about storage without making piles. Group things by type or purpose like crafting, general admin, mystery cables, etc. Then go through the piles a second time. Ask yourself: “Does this really need to live in this room?” If the answer isn’t an immediate yes, find it a new home.
Once you’ve zeroed in on what actually belongs in this room, then we can talk furniture. I recommend focusing on closed storage, not display shelves. IKEA’s HAVSTA line is a great option. It’s slightly traditional without being fussy and plays nice with the furniture you already have. When you line them up, they give strong “custom built-in” energy without the custom built-in price tag.
Now, a note on color: Everything in your room right now is pretty dark. I think you should go light with these storage pieces, since matching your existing dark furniture is going to be hard at IKEA.
My gut says you need to go low and wide with furniture. Think buffet height, not bookcase height. That way, you get a clean horizontal surface and plenty of concealed storage below. One potential asterisk here is that your windows look like they dip pretty low into your panel molding, meaning they might be partially blocked by a low and wide furniture situation in this room. Measure the space between your windows. Can a low unit (or two) fit between them? If so, do that. If not, see if one tall unit fits there instead. Or maybe there’s another wall in that room where you can line up a few of the low ones side by side. You’ve got options. If you’re like me and need a visual, IKEA’s room planner tool is really great.
Once you’ve decided on your storage setup, go back to your piles. You’re going to need bins—lots of them. Bins might not keep you organized 100 percent of the time, but they make it easier to clean up quickly. Most of these storage bins fit into the HAVSTA cabinets. Take stock of your materials and figure out how many bins you need.
You’re just a few piles and a couple of cabinets away from the dining/crafting room of your dreams. Good luck!
Margot asks:
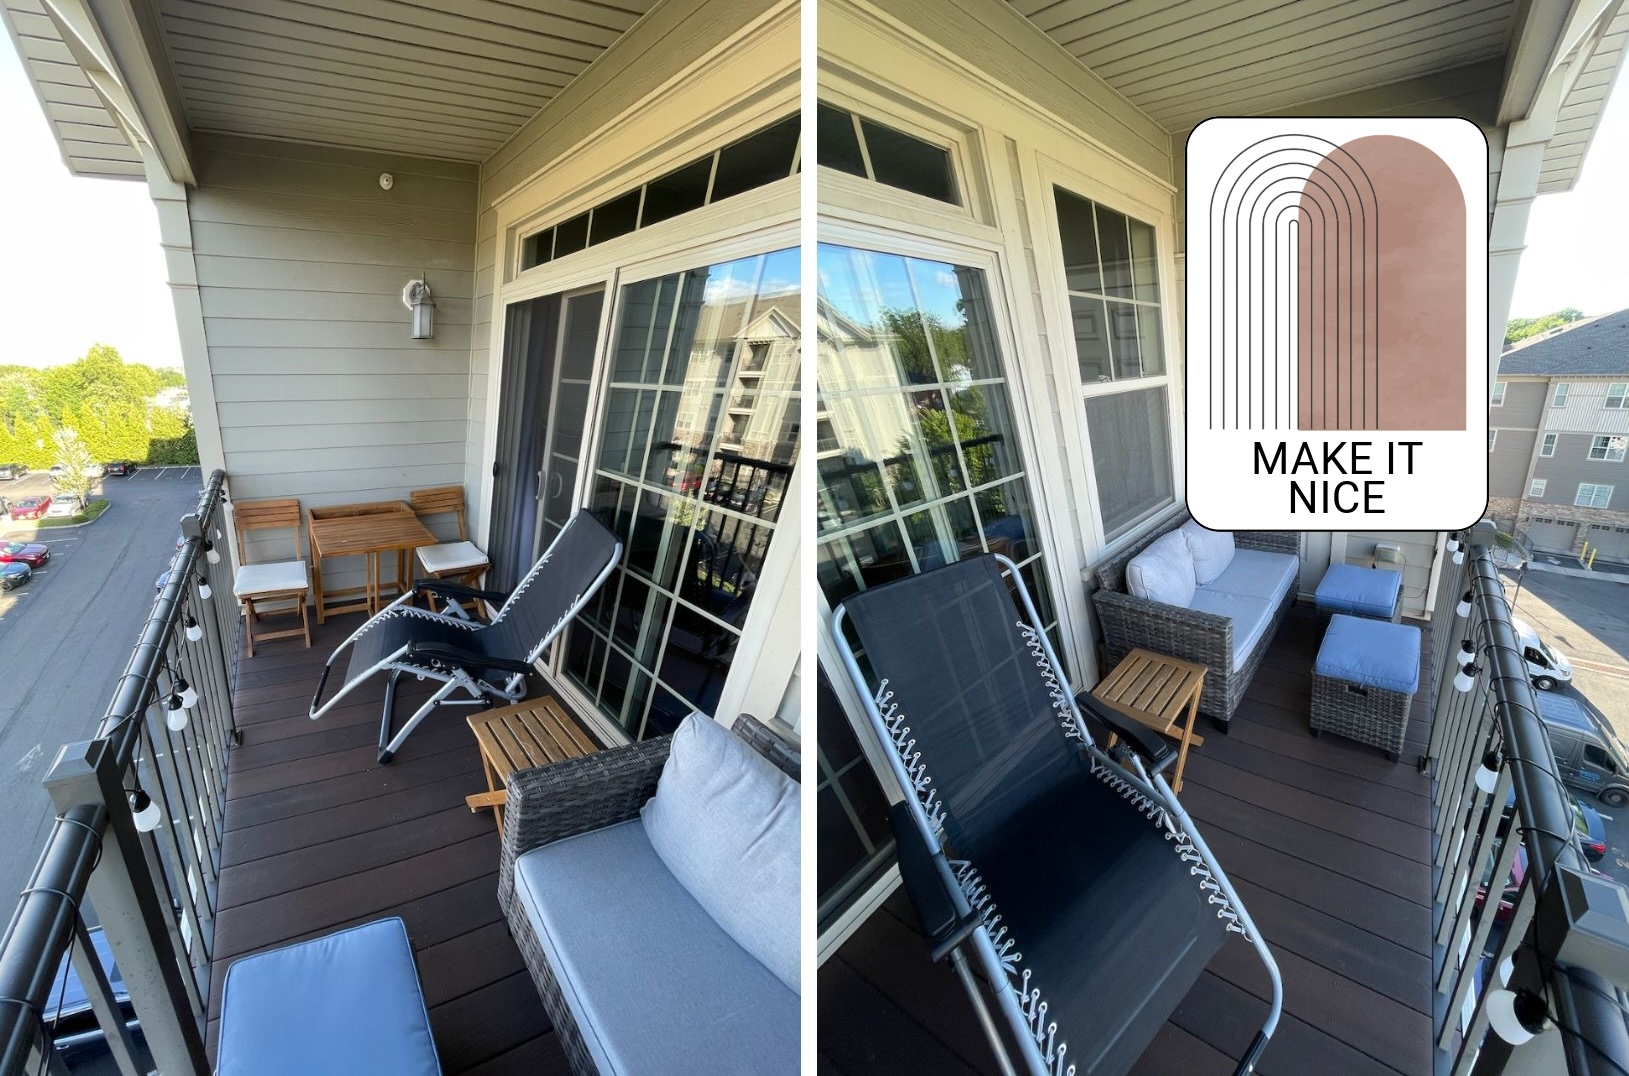
Our kitchen, living area, and primary bedroom are on one floor, while our guest room and bathroom are on a different floor. The only bathroom on the first floor is in the primary suite, so guests either have to walk through our bedroom or go to a different floor to pee.
We’d like to set up a privacy screen in our bedroom when we have guests over so that it feels less like they’re walking through our private space to get to the bathroom. (This also gives us the option to not perfectly clean our bedroom when we have company.) However, all of the screens that I’ve found online look cheap, flimsy, or see-through! I know there must be something out there.
Could you recommend a sturdy, stylish, foldable, mostly opaque privacy screen? We love the style of the West Elm Zeze screen, but online photos make it look like it would be too transparent for us.
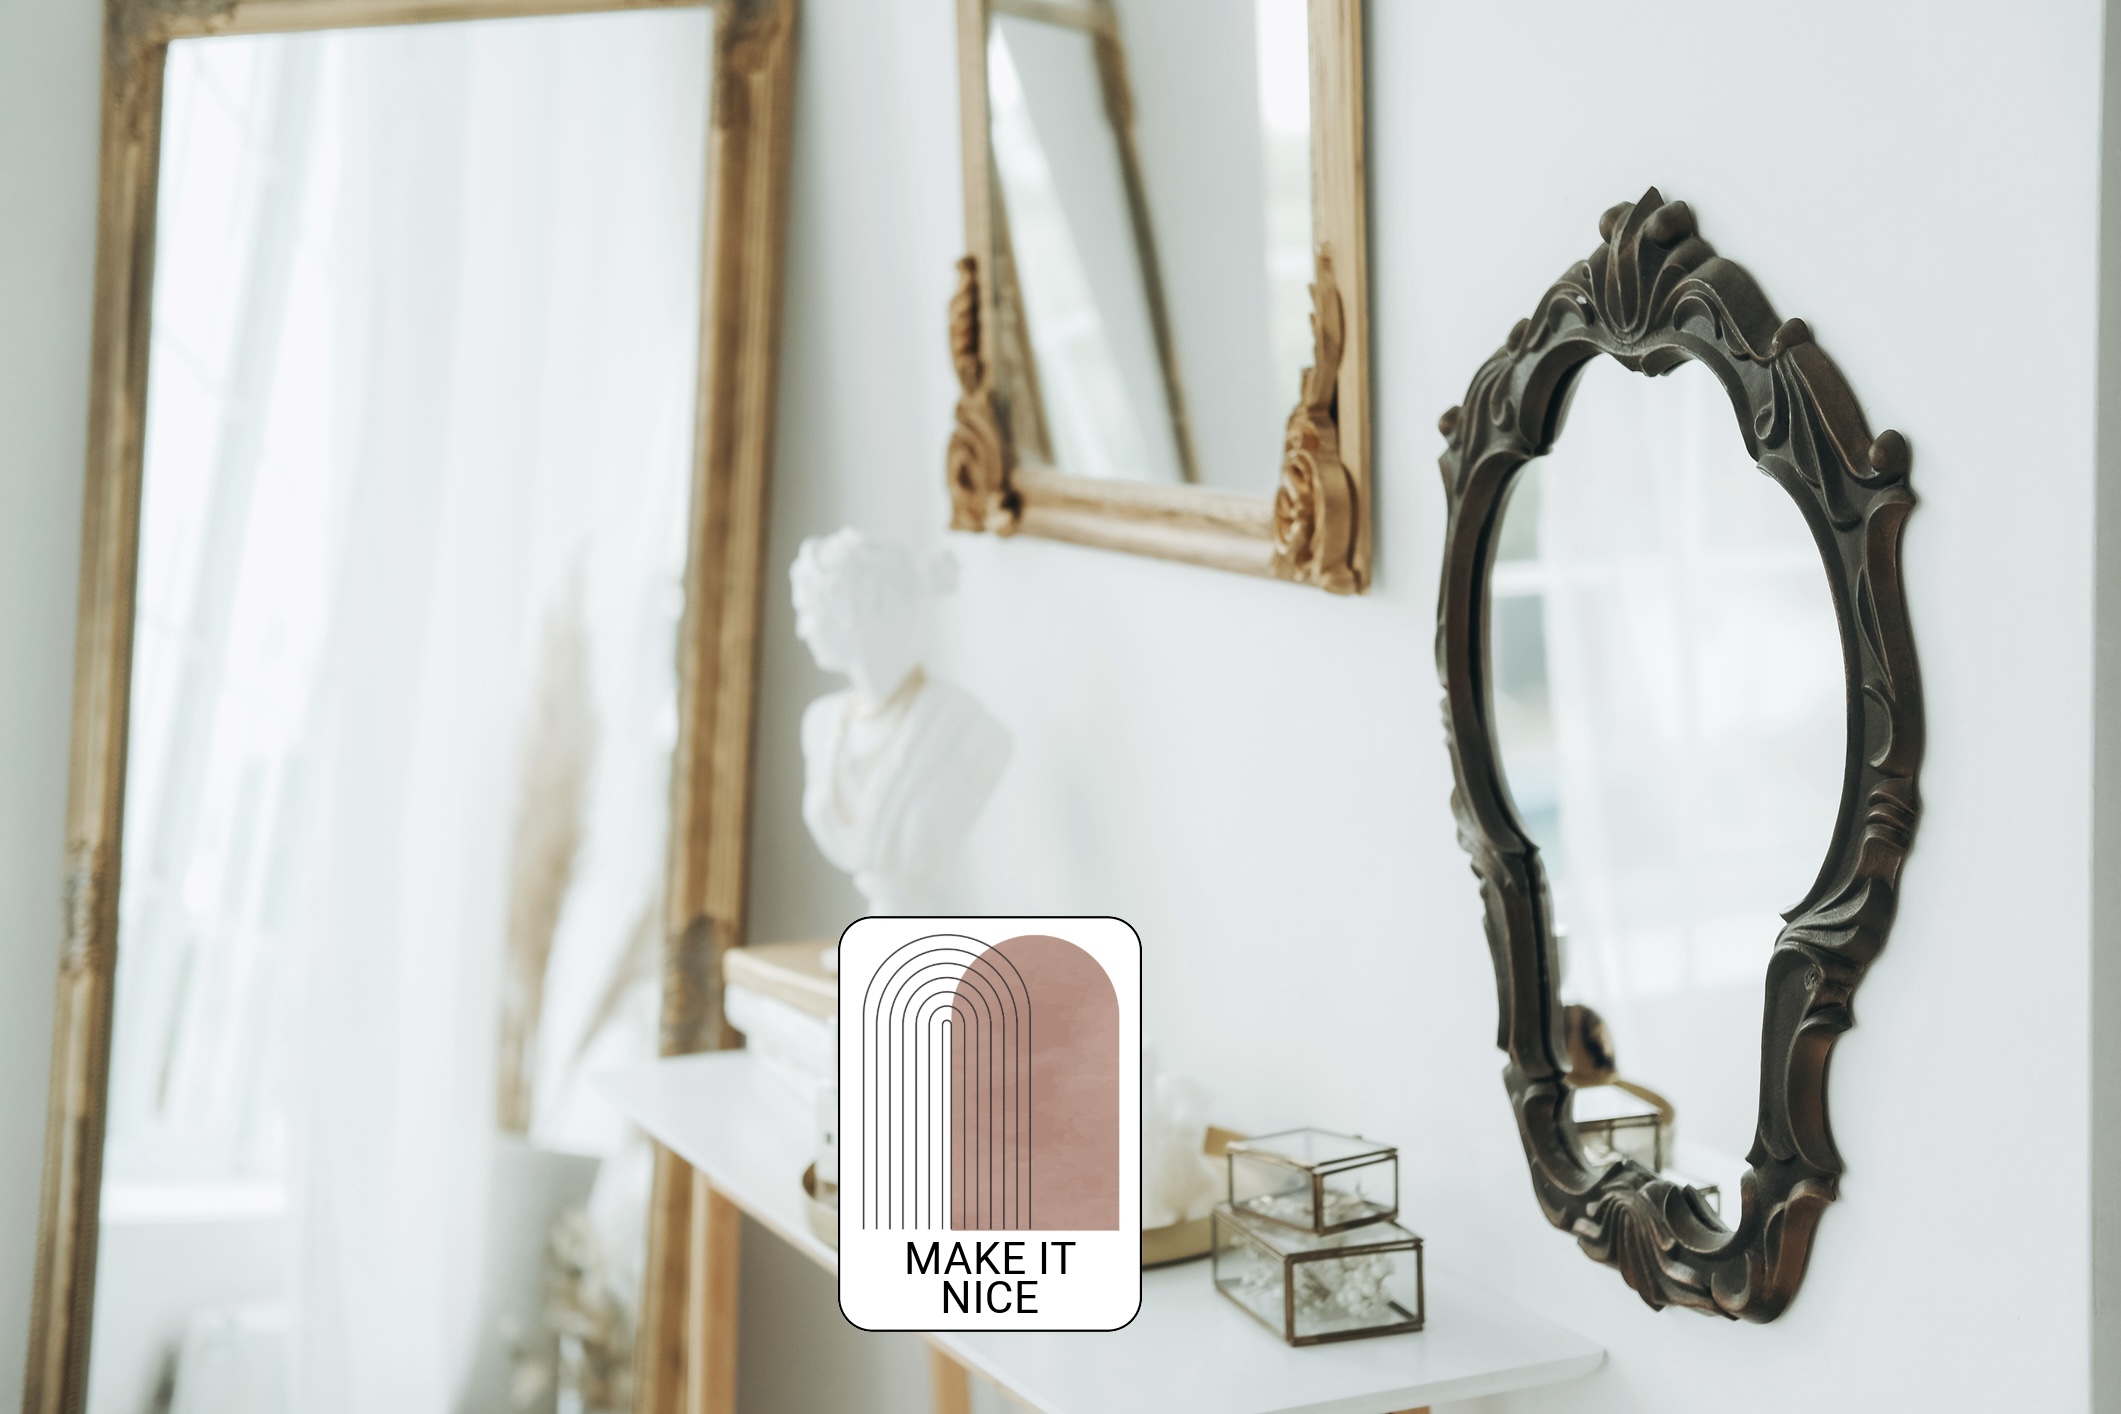
We must free you from the childhood chore of needing to clean your bedroom before guests come over. I love the West Elm screen you shared, but agree it won’t actually solve your problem. I have two suggestions for you. First, this bamboo room divider that rolls up into a tube. There’s a video at the bottom of the product page if you’re curious about how it unrolls. I like that it’s completely opaque. And when you’re done using it, you just roll it up and tuck it into a corner.
My next suggestion is a tall shoji screen. While it’s not rattan like the West Elm screen you linked to, it does have a similar feel. Perigold has a ton of these, so you can narrow down based on your size and wood tone preference. These screens are pretty lightweight and fully opaque. I also like that they sell them in multiple lengths in case you need more coverage. You really can’t go wrong with these!
Tommy asks:
I just bought my first apartment, and I love everything about it except the kitchen. I don't have a great sense of design, and I want to have a clear vision of what it should look like so I can make thoughtful changes over time.
Any thoughts on the broader approach I can take, how you would design it, or on these specific questions would be a huge help.
- There's not much natural light and it's narrow, and I want to create a kitchen that doesn't feel like a cramped dungeon. How can I pick wall and cabinet colors to prevent this without making it a sterile, all-white kitchen?
- Is the backsplash too low? Should I be concerned about my sauces and soups splattering all over the paint?
- Does the hanging steel light fixture look out of place, or am I just fixating on it?
- Would a shelf/pot rack above the range block too much of the limited light I get?
Congratulations on buying an apartment! That’s a huge accomplishment in this hellish economy. You emailed me, meaning we are now legally best friends. And as your best friend, I’m going to tell you the truth:
Tommy, I’ve seen a lot of kitchens, but never one quite like this. This is (respectfully) one of the most insanely designed kitchens I’ve ever encountered. There’s something almost admirable about the chaos at work here. The refrigerator closet? The sink jammed into the corner? I have questions and a few notes.
If it were me, I wouldn’t put a single cent into this kitchen until you’re ready to gut it entirely. If you’ve got the budget for a renovation now, great. If not, sit tight and start saving. My boyfriend Josh is an architect and interior designer and, because he saw your kitchen over my shoulder, is now an official Make It Nice design consultant. Here’s our plan for you:
Rip it all out. Everything. Cabinets, backsplash, the refrigerator closet and yes, the steel light fixture. Get it all out of there. You can likely reuse the sink, dishwasher and fridge. But in order for this to feel like a functional kitchen, you have to start from scratch.
Rebuild along one wall. Put all your cabinets on the left side of the kitchen. That way, you free up the window entirely and make the most out of that light. I estimated the dimensions of the room and sketched this out in IKEA’s kitchen planner (which is addictive, be warned). Here’s a simple but functional L-shaped layout that gives you actual space to cook. I couldn’t add this to the design, but in the space between the window and the next cabinet, I recommend adding some open shelves.
If you can bear it, say goodbye to gas. The cooktop and oven need to move in order to accommodate the new layout. Moving a gas line in a condo can be a bit of a nightmare, so do yourself a favor and get an induction range.
Take advantage of your vertical space. If your budget allows, add in a tall pantry unit like the one in the model. If you need more storage, get some pegboard tiles on the right wall, closer to the front of the room and away from the window. Pegboards are great modular storage tools!
I agree that you should avoid the sterile white kitchen look. If you go with flat, high-gloss cabinet fronts, you can swing almost any color. But if you prefer matte finishes, stick with lighter tones to keep the room feeling bright. And here’s the key tip: Keep your cabinet fronts, countertops and backsplash all in the same or similar color family. The monochrome look makes the whole space feel bigger. Here’s an example.
Tommy, please keep me updated on this. I’m very invested in this kitchen now.
I’ll be back next month with more design solutions. Email me your questions here: makeitnice@defector.com.